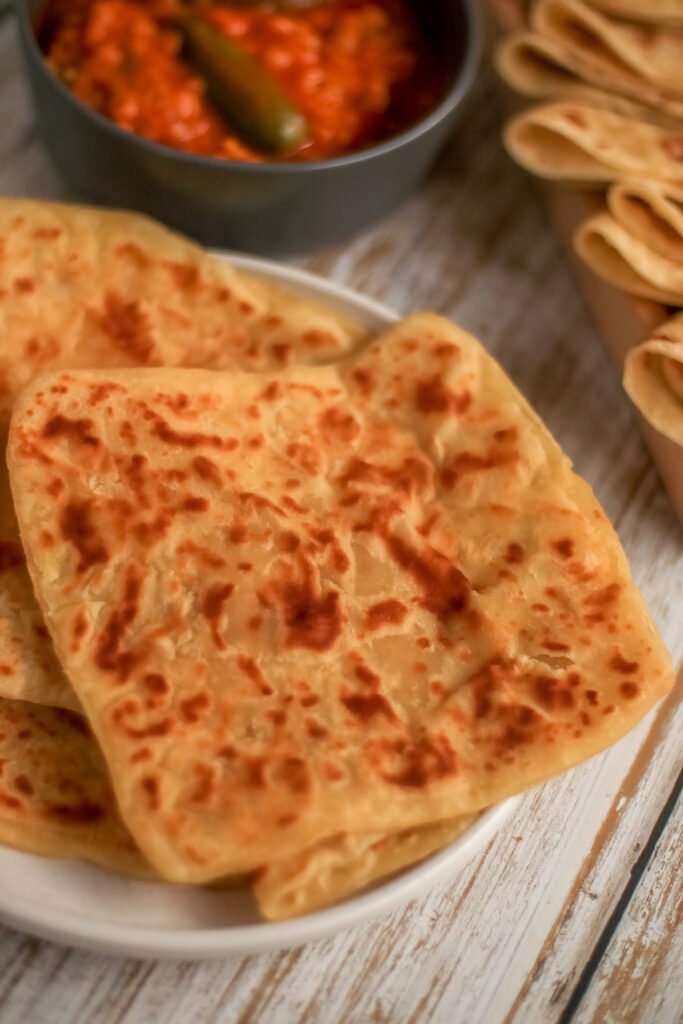
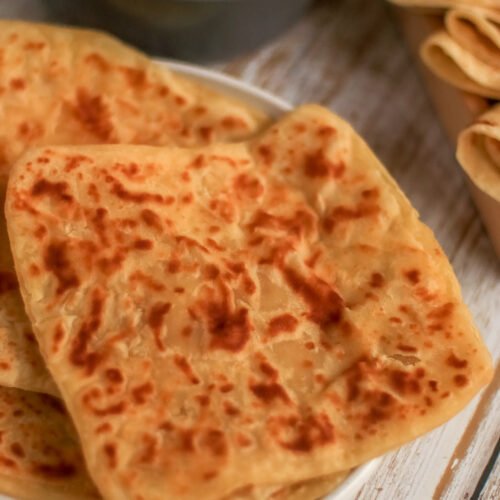
Soft and Buttery Square Paratha
My Ma has been making square paratha for as long as I can remember. She folds them quickly, without thinking, the way you do something you’ve done a thousand times, and then she’ll tell you they’re best with a hot cup of tea. By the way, it really is!
My mum and aunts all make them the same way now. Square. The folding creates more layers, more flakiness, and a paratha that pulls apart beautifully. Same simple dough as my soft roti, but the fold is what changes everything. Once you get it, you’ll wonder why you ever bought paratha from a shop.
Why You’ll Love This Soft and Buttery Square Paratha
- The square fold creates real layers: Folding the dough into a square traps margarine between each layer, giving you that flaky, pull-apart texture that makes paratha so irresistible. This is what separates a good paratha from a great one.
- Just 5 ingredients: Cake wheat flour, oil, boiling water, margarine, and salt. Nothing you don’t already have.
- An Indian staple: This soft and buttery square paratha is the kind that’s been made in Indian homes for generations – unpretentious, deeply satisfying, and always welcome at the table.
- Goes with everything: Curry, dhal, chutney, or just warm off the pan with an extra knob of margarine and a hot cup of tea.
- Quick once you get the hang of it: The first one or two might take a little practice. By the time you’re halfway through the batch, you’ll be folding and flipping without thinking.
Ingredients
Cake wheat flour: The foundation of a soft paratha. Cake wheat flour has a lower protein content than bread flour, which gives you a dough that rolls out easily and stays soft after cooking. If you substitute with bread flour, you will notice that it will make the paratha noticeably tougher.
Oil: Added to the dough to keep it soft and easy to work with. It also helps the layers separate when the paratha is folded.
Boiling water: Boiling water partially cooks the flour as you mix, giving the dough its characteristic softness and pliability. Always use boiling water – not warm, not cold.
Margarine: Used both when folding and when cooking. The margarine between the folds is what creates the flaky layers – don’t be shy with it. Then more margarine in the pan gives the paratha its rich, buttery finish. Butter works too if you prefer your parathas to be richer.
Salt: Just enough to bring everything together. Unseasoned paratha tastes flat, so don’t skip it.
How to Make Square Paratha
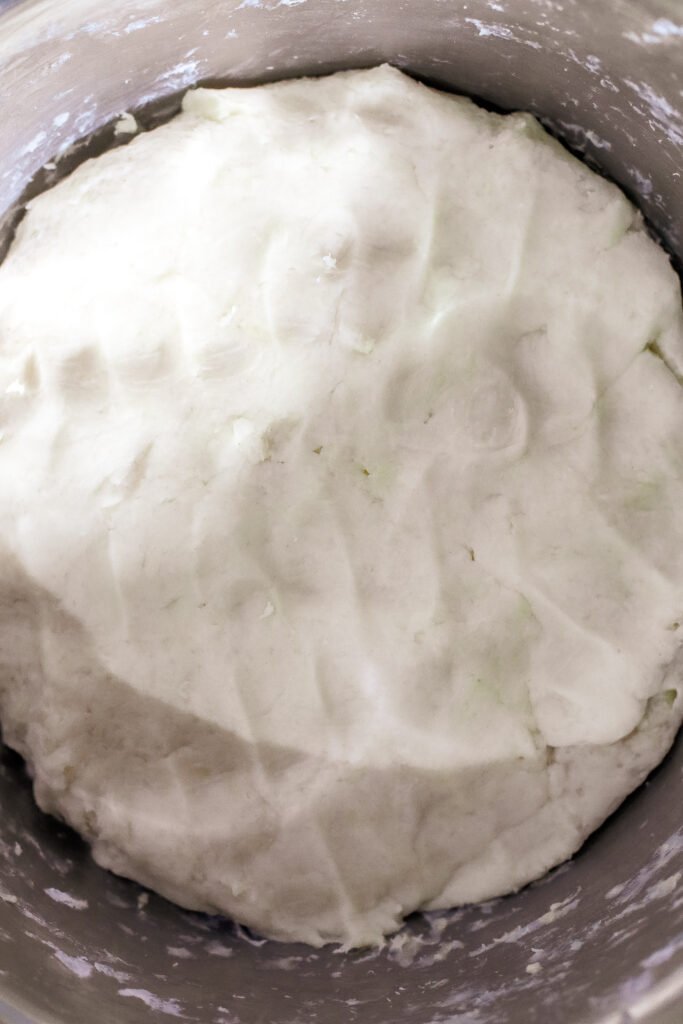
Step 1: Make the Dough
In a large bowl, combine the cake wheat flour and salt. Add 2 tablespoons of melted margarine and the oil and mix through. Gradually pour in the boiling water, mixing as you go, until a soft dough comes together. You may not need all the water. Add just enough until the dough feels soft and pliable but not sticky.
Knead for a few minutes until smooth, then cover with a clean cloth and leave to rest for at least 15–20 minutes. Don’t rush this part. Resting is what makes the dough easy to roll and the paratha soft when cooked.
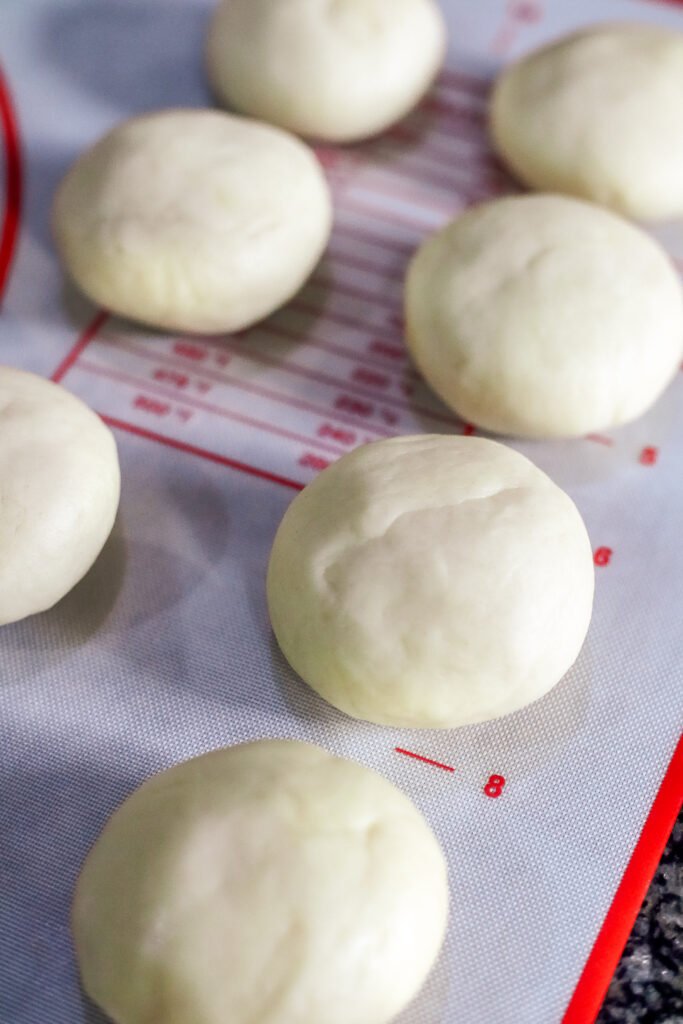
Step 2: Divide and Roll
Divide the dough into equal portions, roughly the size of a golf ball.
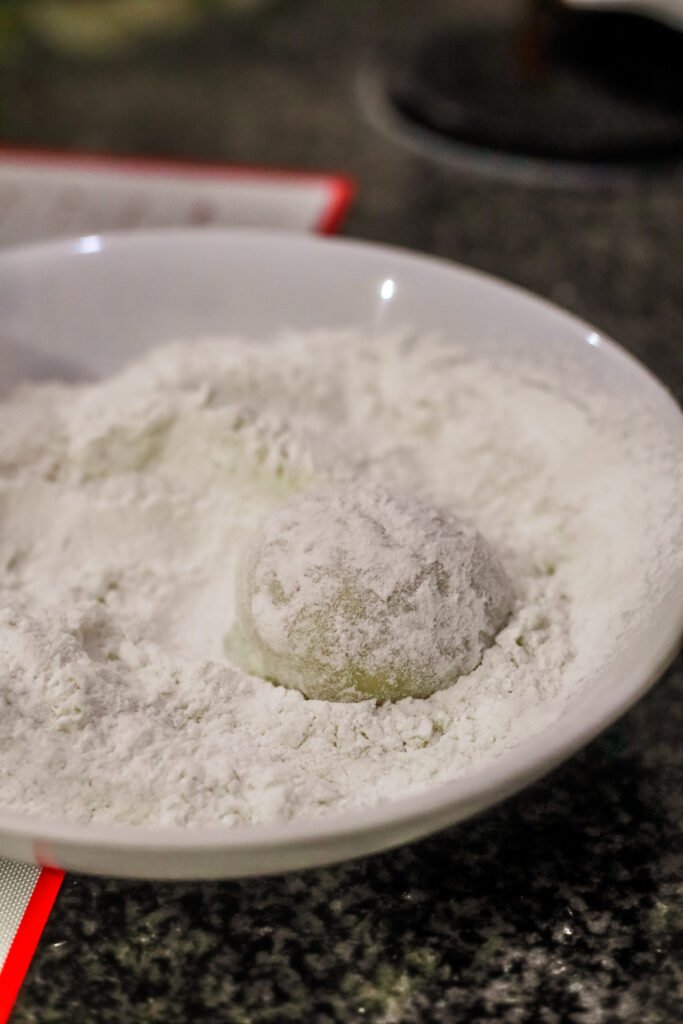
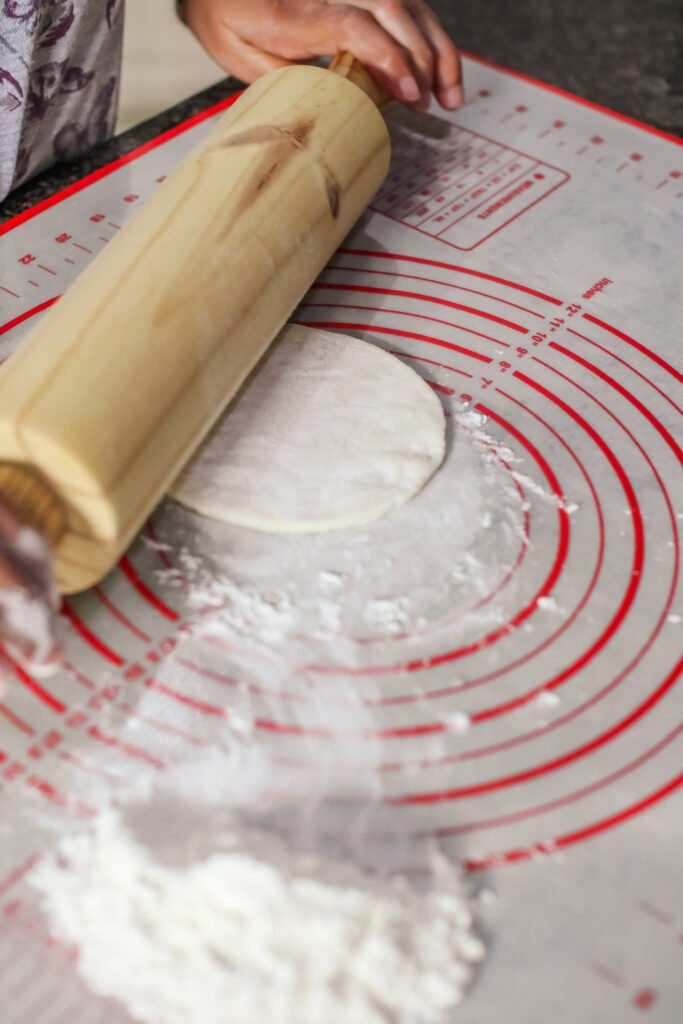
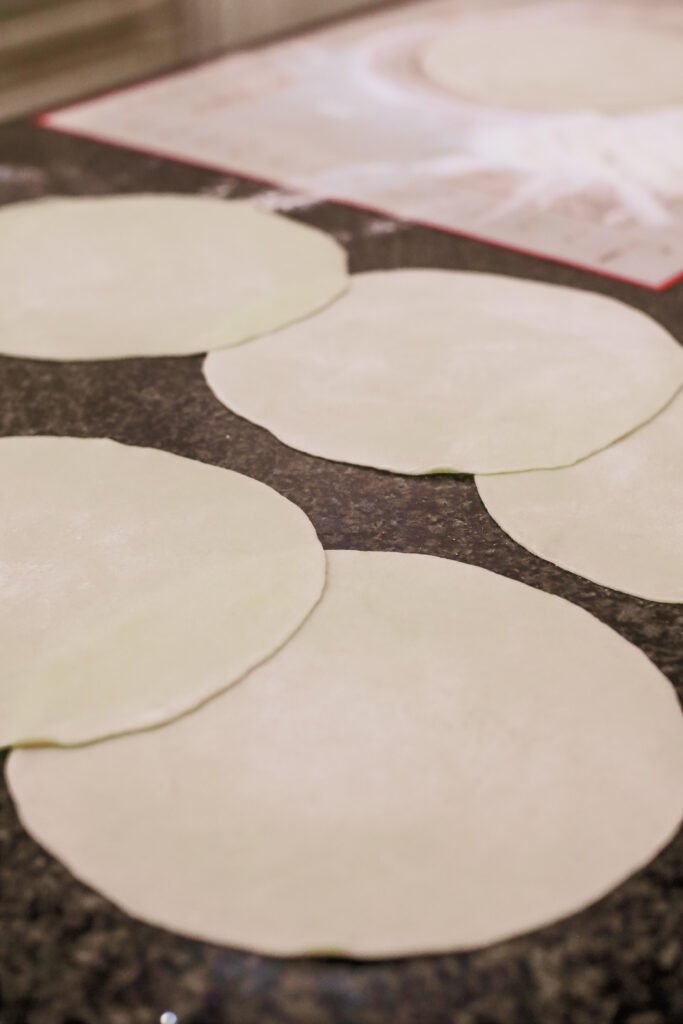
Step 3: Roll the Dough
First, coat each ball of dough in a bowl of flour. Then, on a lightly floured surface, flatten each piece with your hand and roll each one out into a thin, even circle. Keep the portions you’re not working with covered with a cloth so they don’t dry out.
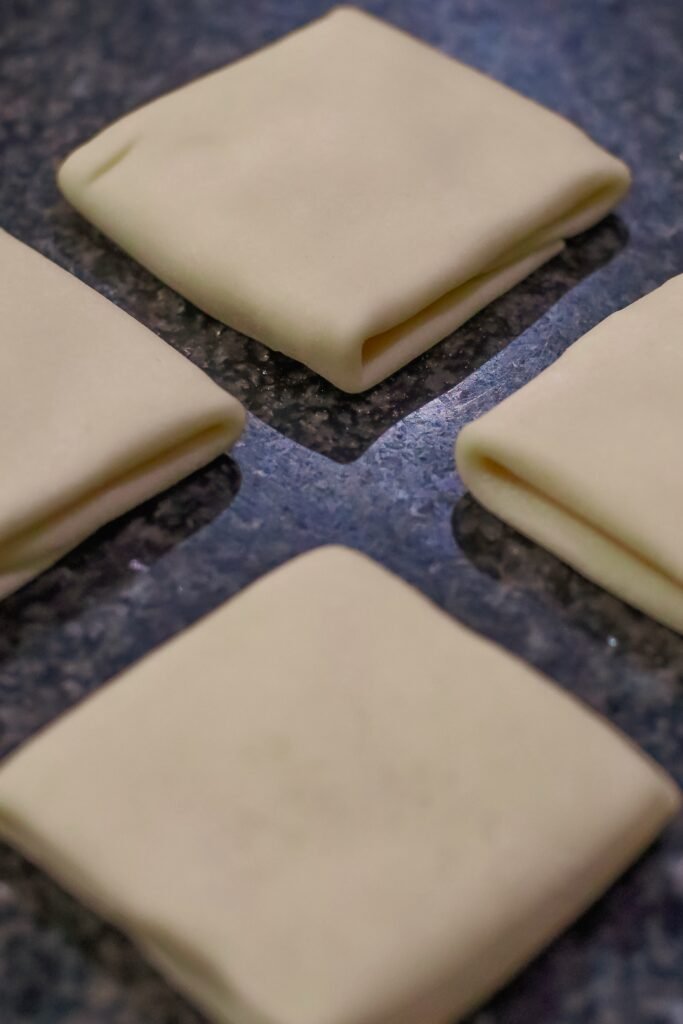
Step 4: Fold into a Square and Roll the dough again
Spread a generous layer of softened margarine over the surface of the rolled dough. Then fold it like this:
- Fold the left third into the centre
- Fold the right third over that, like you’re folding a letter
- Fold the top third down and the bottom third up to form a neat square
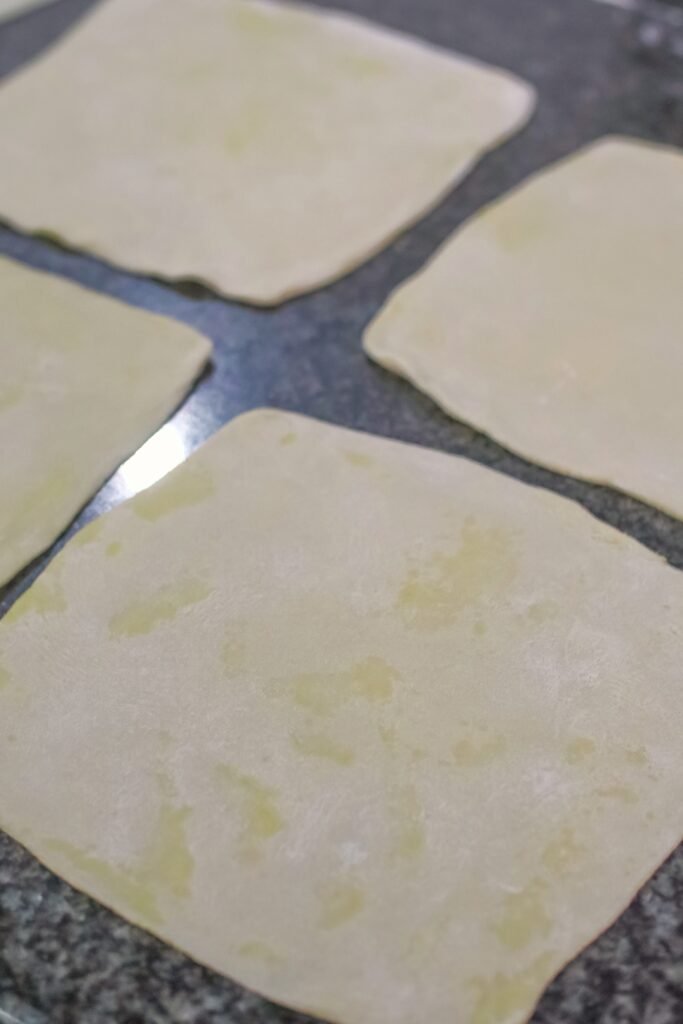
You should now have a layered square of dough. Gently roll it out again into a thin square, not too aggressively, you want to keep those layers intact.
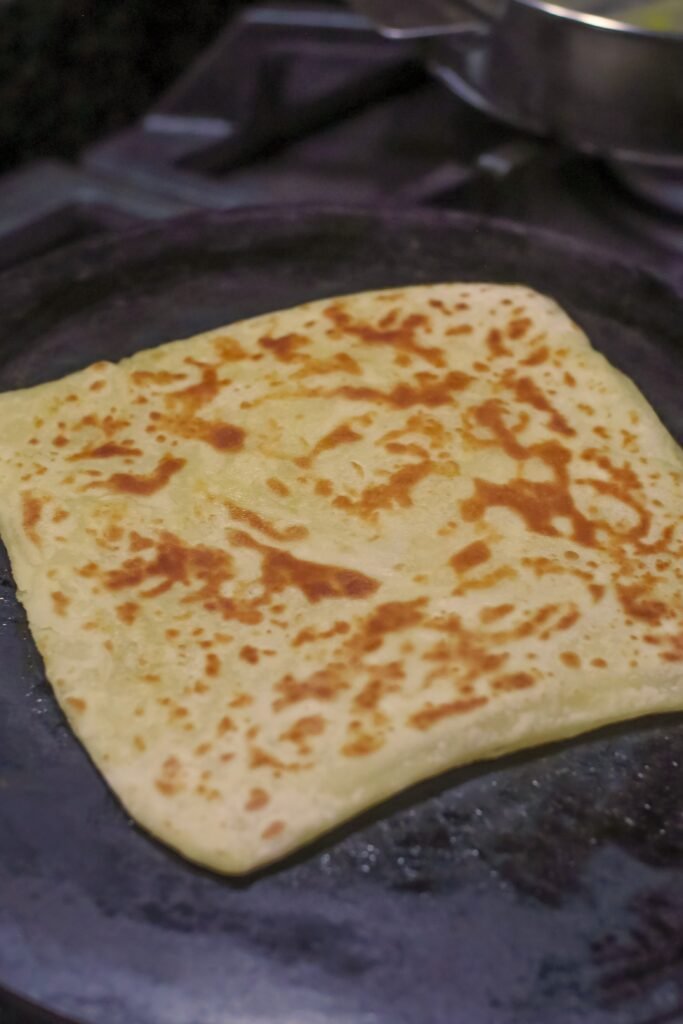
Step 5: Cook the Paratha
Heat a flat pan or tawa over medium-high heat. Place the paratha onto the dry pan and cook for about 30–40 seconds until bubbles start forming on the surface. Flip and cook the other side. Spread melted margarine on both sides of the paratha. You’re looking for golden spots on both sides with a soft centre and slightly crispy edges.
Step 6: Keep Warm
Stack the cooked parathas on a plate and cover with a clean cloth as you go. The steam that builds between them keeps them soft and warm while you finish the rest. Don’t leave them uncovered or they’ll dry out quickly and get tough.
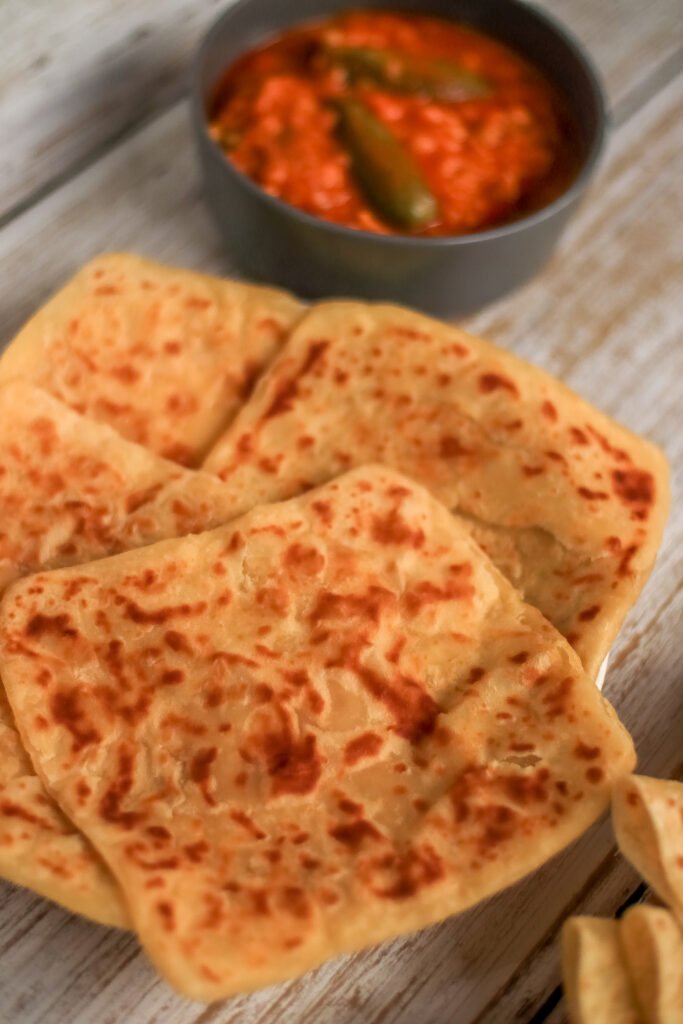
What to Serve With Square Paratha
Paratha goes with almost everything, but these are my favourites:
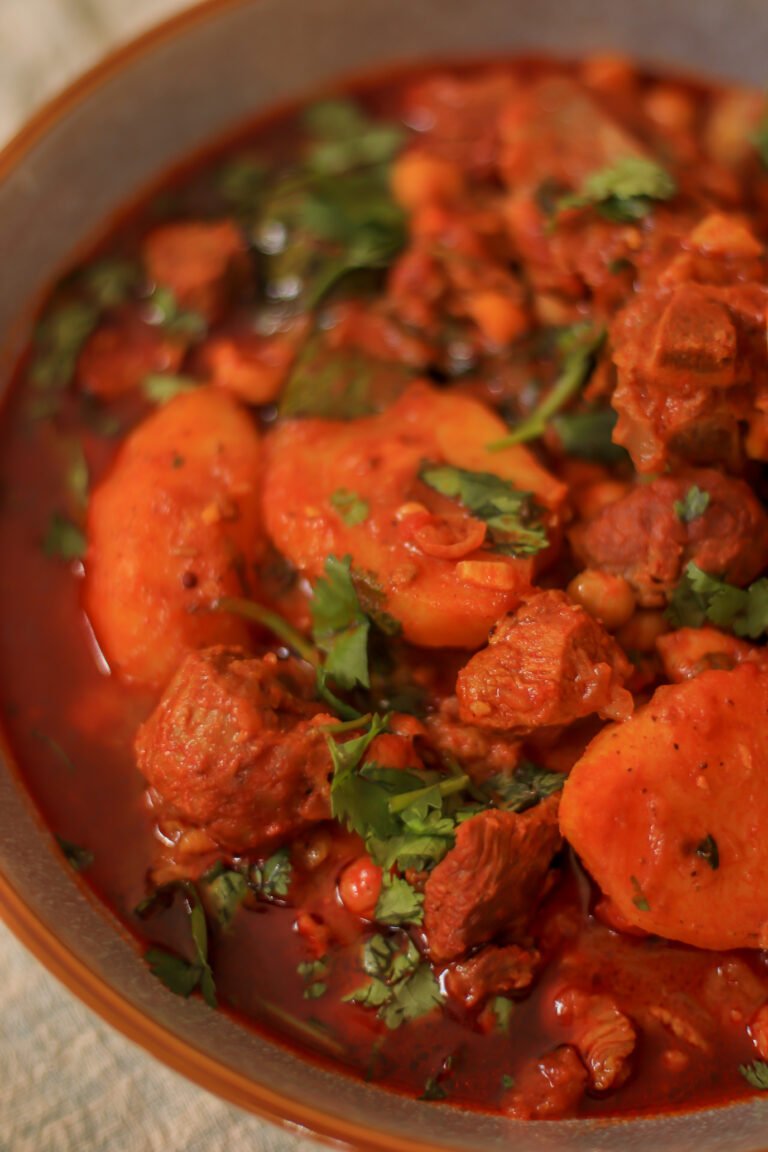
- Durban Mutton Curry: Rich, spicy curry with flaky paratha is a combination that never gets old. Use the paratha to scoop up every last bit of gravy.
- Dhal: A simple yellow lentil dhal with warm paratha is pure comfort food and one of my favourite quick meals.
- Tomato Chutney: A quick tomato chutney alongside warm paratha fresh off the pan is a snack and a half.
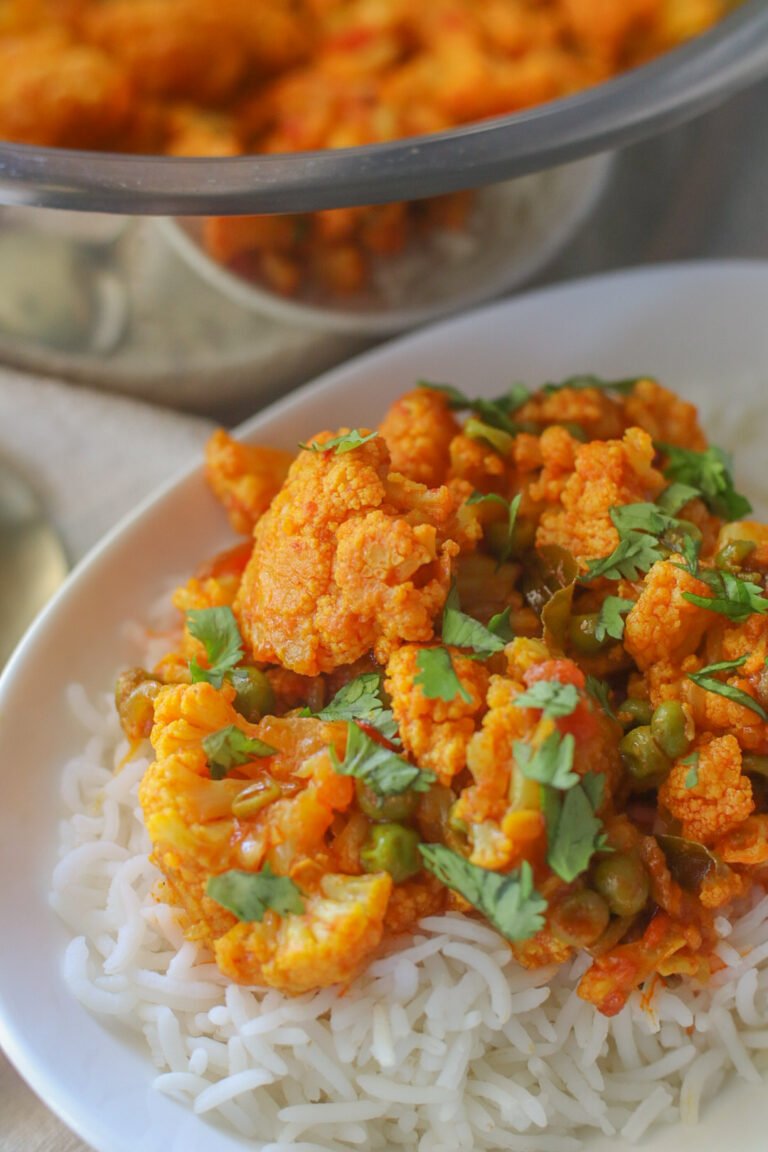
- Green Bean and Mushroom Curry: A lighter vegetable curry that pairs beautifully with paratha when you want something a little less heavy.
How to Store Square Paratha
Room temperature: Stack cooled parathas, cover with a clean cloth, and store in a container for up to 1 day.
Fridge: Store in an airtight container or wrapped in foil for up to 2 days. Reheat in a dry pan on medium heat for about 30 seconds each side, or in a microwave for a few seconds.

Frequently Asked Questions
Why is my paratha hard?
The two most common reasons are that the dough wasn’t rested long enough, or the paratha was rolled too thick. Rest for at least 15–20 minutes and roll as thin as you can while keeping the layers. Also make sure you’re covering the cooked parathas immediately. Leaving them uncovered dries them out fast.
Why isn’t my paratha flaky?
The flakiness comes from the margarine between the folds. Make sure you’re spreading a generous layer before folding into a square. A thin scraping won’t give you the layers you’re looking for. Also make sure you’re rolling thin enough after folding.
Can I use butter instead of margarine?
You can, however, keep in mind that adding butter both in the folds and in the pan adds much more richness.
How do I keep paratha soft after cooking?
Stack them immediately and cover with a clean cloth as you cook. The steam trapped between them does all the work. This step is just as important as everything that happens on the pan.
What’s the difference between roti and paratha?
Same dough, different technique. Roti is rolled flat and cooked as is. Paratha is spread with margarine, folded to create layers, and then rolled out again. That folding process is what gives paratha its flakiness and richer flavour.
⭐ Tried this recipe? Leave a star rating and a comment below — I’d love to hear howyour buttery square parathas turned out!
Equipment
- Large mixing bowl
- Rolling Pin
- Flat pan or tawa
- Clean cloth or kitchen towel
- Spatula
Ingredients
- 2½ cups (625ml) cake wheat flour
- 1 tbsp vegetable oil
- 150g margarine (1 tbsp for the dough mixture, 2–3 tbsp for spreading inside the dough before folding and the remainder for cooking on the tawa)
- ¼ tsp fine salt
- 1¾ cups (435ml) boiling water
Instructions
- In a large bowl, combine the cake wheat flour and salt. Add 2 tablespoons of melted margarine and the oil and mix through. Gradually pour in the boiling water, mixing as you go, until a soft dough comes together. You may not need all the water. Add just enough until the dough feels soft and pliable but not sticky.
- Knead for a few minutes until smooth, then cover with a clean cloth and leave to rest for at least 15–20 minutes. Don’t rush this part. Resting is what makes the dough easy to roll and the paratha soft when cooked.
- Divide the dough into equal portions, roughly the size of a golf ball.
- First, coat each ball of dough in a bowl of flour. Then, on a lightly floured surface, flatten each piece with your hand and roll each one out into a thin, even circle. Keep the portions you’re not working with covered with a cloth so they don’t dry out.
- Spread a generous layer of softened margarine over the surface of the rolled dough. Then fold it into a square. Fold the left third into the centre. Fold the right third over that. Fold the top third down and the bottom third up to form a neat square.
- You should now have a layered square of dough. Gently roll it out again into a thin square, not too aggressively, you want to keep those layers intact.
- Heat a flat pan or tawa over medium-high heat. Place the paratha onto the dry pan and cook for about 30–40 seconds until bubbles start forming on the surface. Flip and cook the other side. Spread melted margarine on both sides of the paratha. You’re looking for golden spots on both sides with a soft centre and slightly crispy edges.
- Stack the cooked parathas on a plate and cover with a clean cloth as you go. The steam that builds between them keeps them soft and warm while you finish the rest. Don’t leave them uncovered or they’ll dry out quickly and get tough.
Notes
- Rest the dough — don’t skip this. At least 15–20 minutes is non-negotiable. Resting relaxes the gluten and is the difference between a dough that rolls out smoothly and one that keeps springing back.
- Use boiling water, not warm or cold. Boiling water partially cooks the flour and is what gives this soft and buttery square paratha its characteristic softness. Cold water will give you a tougher result.
- Don’t overwork the dough. Knead just until smooth. Over-kneading develops too much gluten and makes the paratha tough rather than soft.
- Be generous with the margarine between the folds. This is what creates the flaky layers.
- Roll thin after folding — but gently. You want to maintain the layers you’ve created. Roll with even, gentle pressure rather than pressing hard.
- Your pan must be hot enough. A pan that isn’t hot enough will dry the paratha out before it cooks properly. Medium-high heat is what you want. Bubbles should appear within seconds of the paratha hitting the pan.
- Cover your parathas as you cook. Stack them immediately and cover with a clean cloth. The steam trapped between them keeps them soft. This step is just as important as the cooking itself.