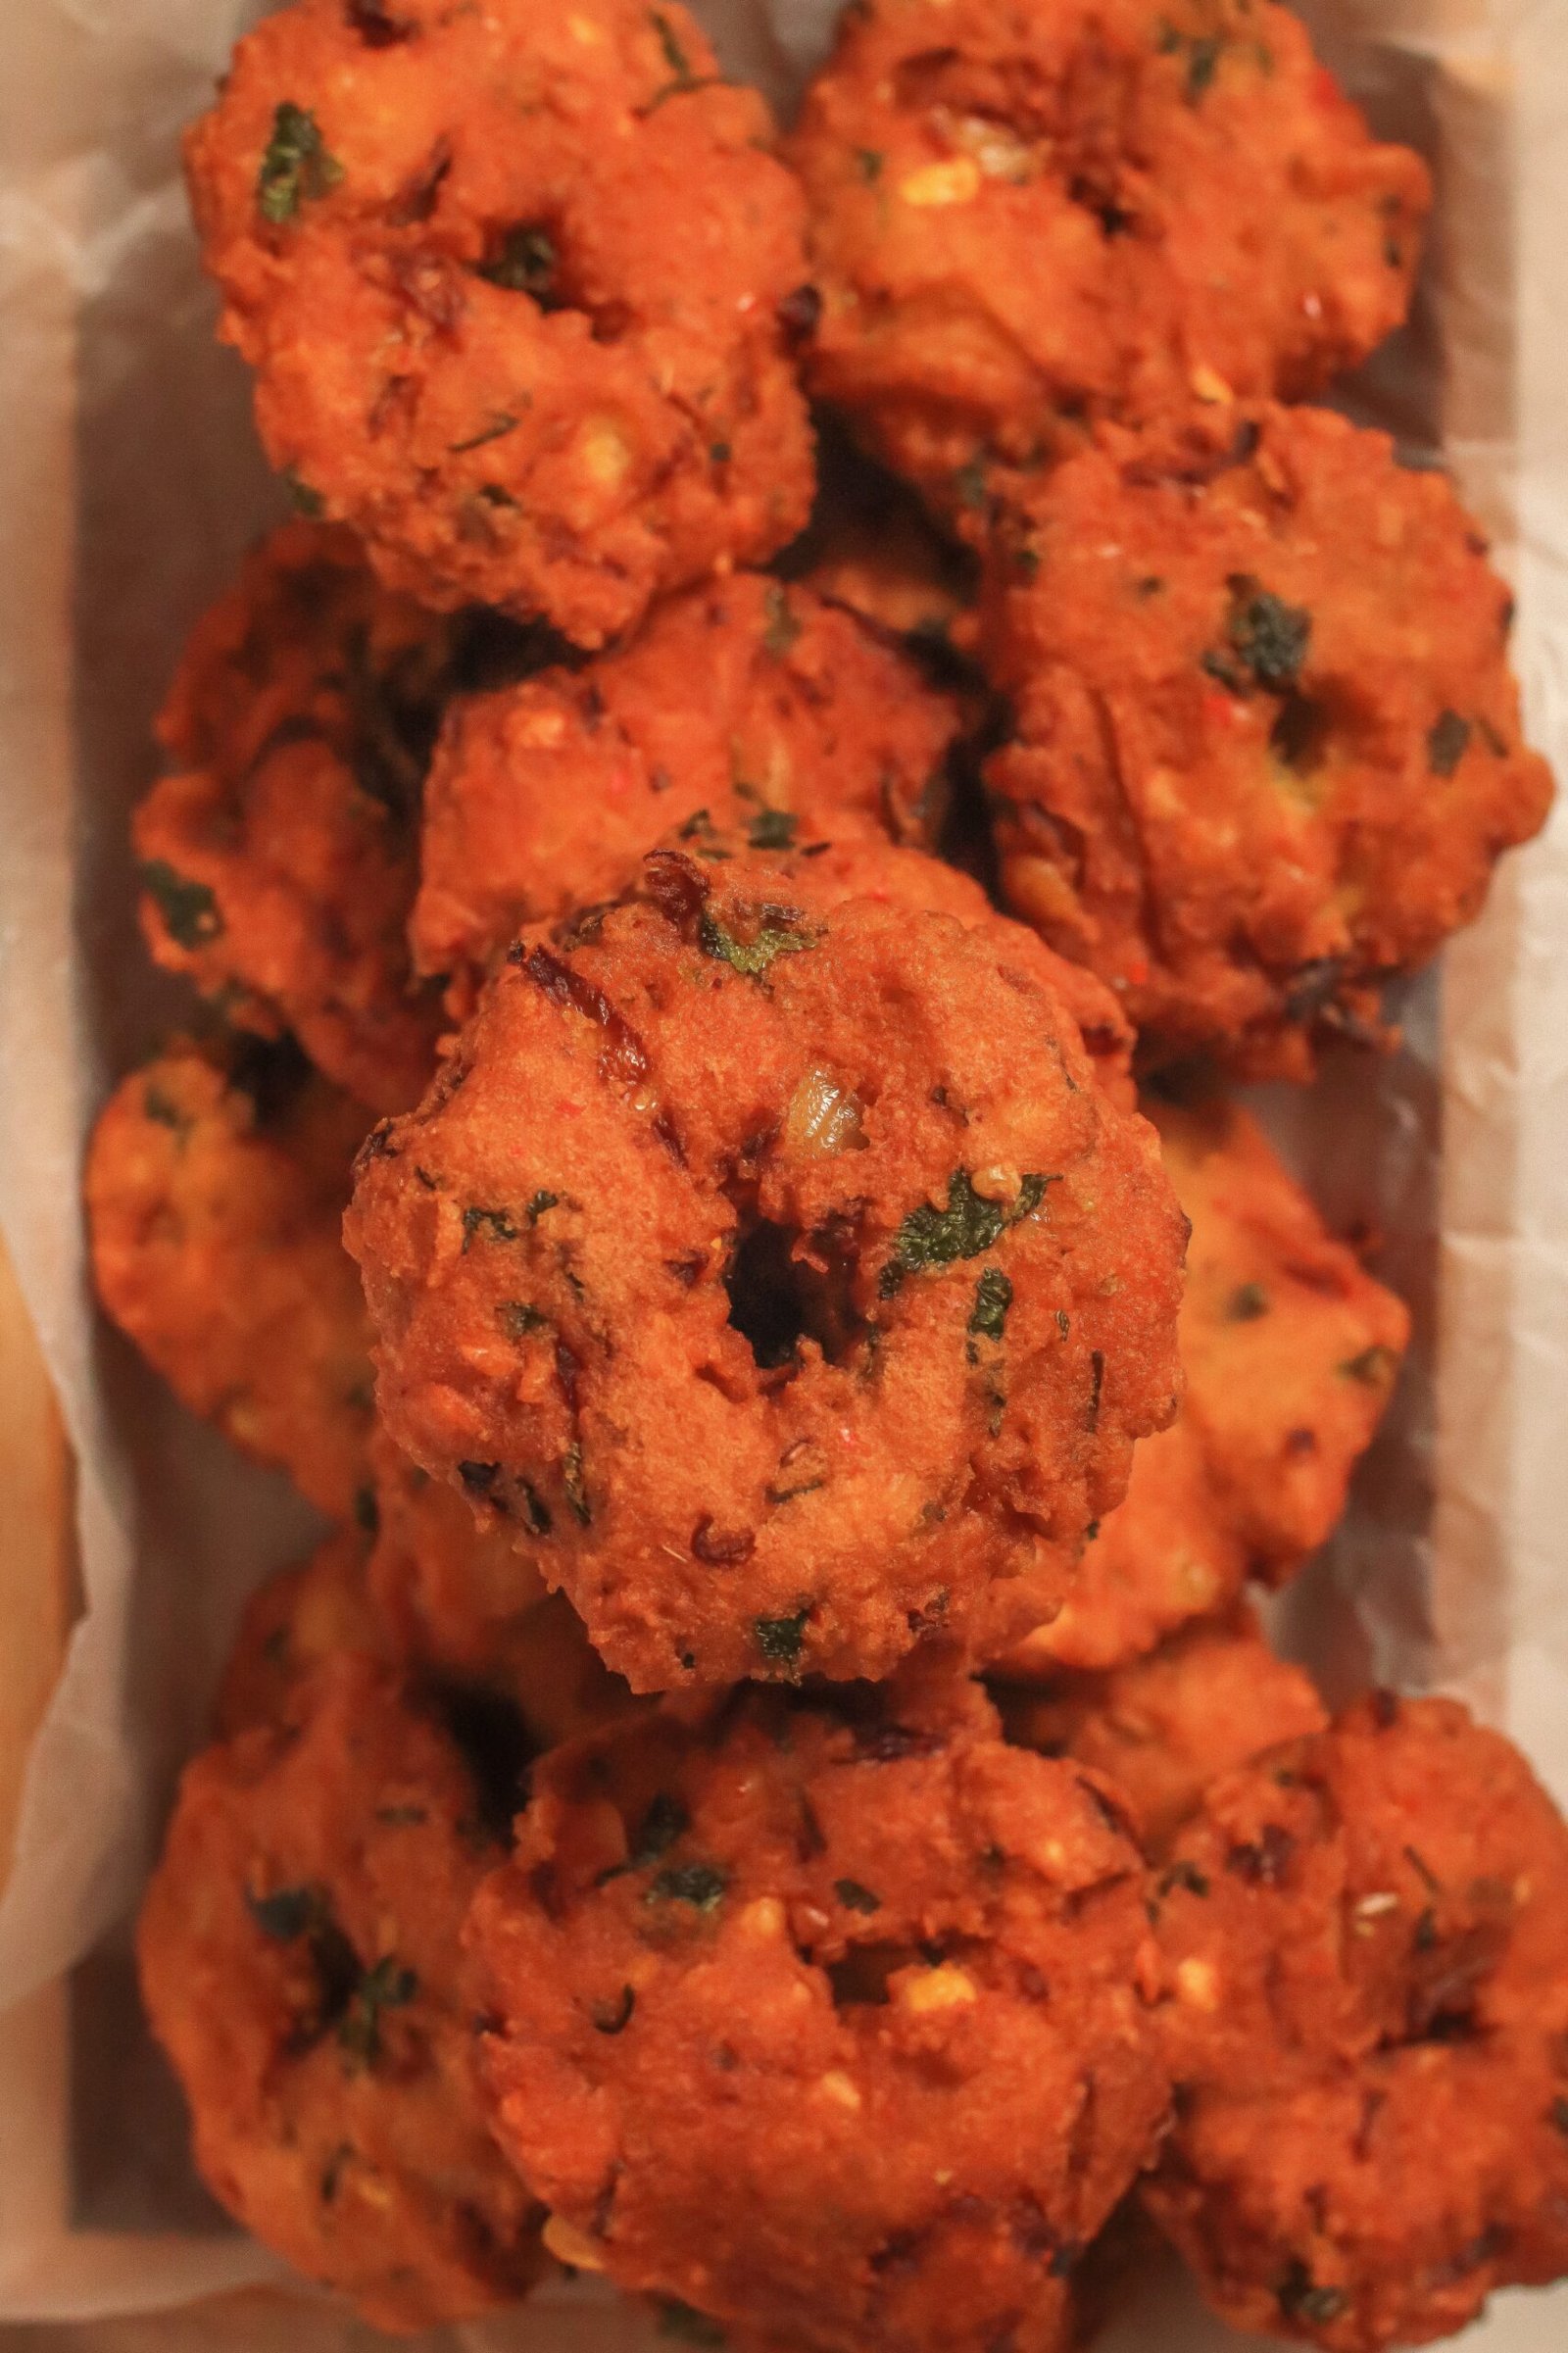
Crispy Vada (South African-Style)
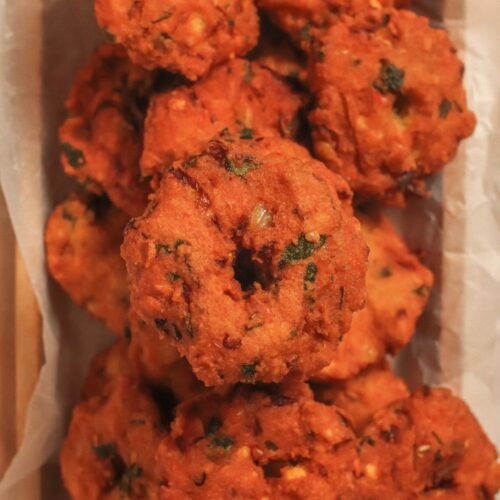
These crispy vada has always been on the table at our family prayers throughout the year. My grandmother makes a big batch for porridge prayers, and they pair perfectly with a cup of masala chai. It’s one of those recipes that brings everyone together when the family comes to pray. Crisp on the outside, soft and packed with flavour in the middle.
What is Vada?
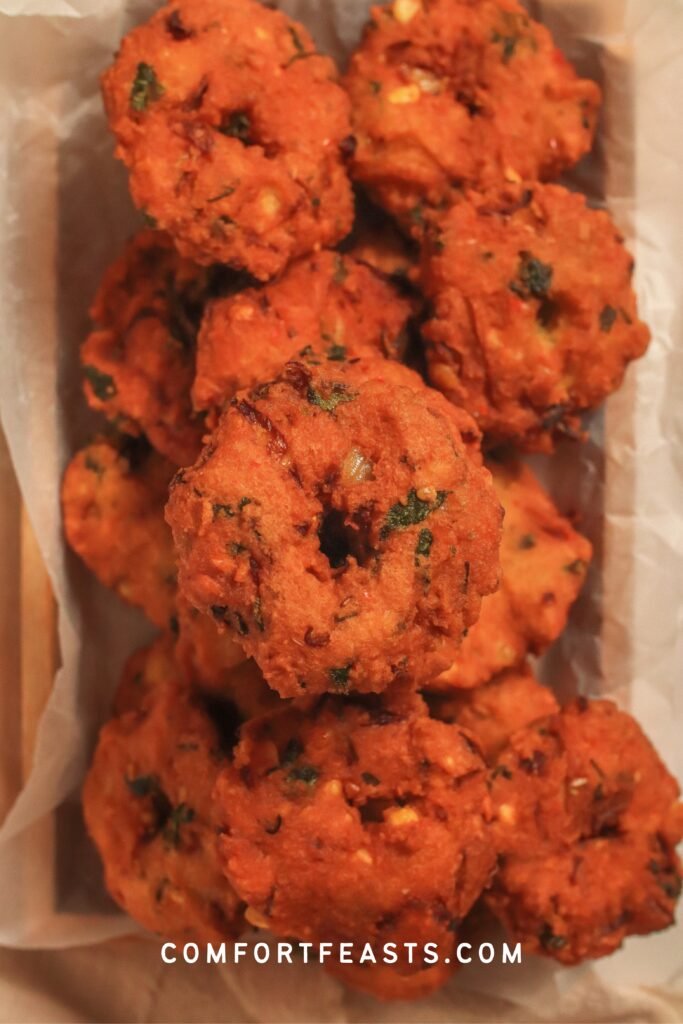
Vada (also spelled vadai) is a savoury, deep-fried snack found across South Indian and South African Indian households. It is traditionally made from ground lentils or dhal. There are many regional variations of this snack. Some use urad dhal, while others are shaped into rings or flavoured with curry leaves and mustard seeds. This South African-style version uses yellow split pea dhal and plenty of fresh green and red chillies. The result is a bold, spicy bite that differs from the milder South Indian versions often found in restaurants.
Why You’ll Love This Crispy Vada
- Deeply traditional flavour — no shortcuts, this is the real family method, ground fresh rather than relying on flour or baking powder for texture.
- Naturally vegan and dairy-free — made entirely from lentils, chilies, and aromatics.
- Perfect for a crowd — this recipe makes 30 vadas, ideal for prayers, functions, and family gatherings.
- Freezer-friendly — make a big batch and refrigerate extras for later (see storage below).
Ingredients to Make Crispy Vada
Yellow pea dhal — the base of the vada. Soaking overnight softens it enough to grind into a smooth, thick paste without needing to add water, which is essential for the vada to hold its shape while frying. It’s the same split pea dhal used in my Durban dhal recipe, just prepared completely differently here.
Fine salt — seasons the dhal paste throughout, not just on the surface.
Sugar — a small amount to balance the heat from the chilies; it won’t make the vada taste sweet.
Ground jeera (cumin) powder — adds warm, earthy depth that complements the chili heat.
Onions, finely chopped — adds moisture, sweetness, and texture against the smooth ground dhal base.
Fresh green chilies and red chilies — the signature heat of this vada. This makes for a fairly spicy vada – if you prefer a milder version, reduce the number of chilies and adjust to your preference.
Fresh coriander, roughly chopped — adds a fresh, herbaceous note and flecks of green throughout the vada.
Oil, for frying — a neutral oil with a high smoke point (sunflower or canola) works best for deep frying at medium-high heat.
The Secret to Vada That Doesn’t Fall Apart in the Oil
If you’ve ever made vada before and watched it disintegrate the moment it hit the oil, the cause of this almost always comes down to one thing: water.
It’s tempting to splash a little water into the blender to help the dhal grind more smoothly, especially if your blender is struggling. Don’t. The dhal releases enough of its own moisture as it breaks down, and that’s exactly the amount the mixture needs to hold its shape once it hits hot oil. Add extra water and you’ll end up with a paste that’s too loose to stay together which is how you get vada that fall apart into crumbs the second they’re fried.
The other non-negotiable is the soak. Give the dhal a full overnight soak, not just an hour or two. Under-soaked dhal grinds coarse rather than smooth, and a coarse paste won’t bind properly either.
Once your paste is right, the rest comes down to handling: wet your hands lightly before shaping so the mixture doesn’t stick to your palms, and don’t crowd the pot when frying. Too many vada in the oil at once drops the temperature, and that’s when you get greasy, unevenly cooked results instead of that golden, crisp shell.
Also, get the oil temperature right. You’re aiming for medium-high heat – hot enough that the vada sizzles gently the moment it goes in, but not so hot that the outside browns before the inside has cooked through.
How to Make Crispy Vada?
Step 1: Soak the dhal. Place the yellow pea dhal in a large bowl and cover completely with water. Leave to soak overnight, or for at least 6-8 hours, until softened.
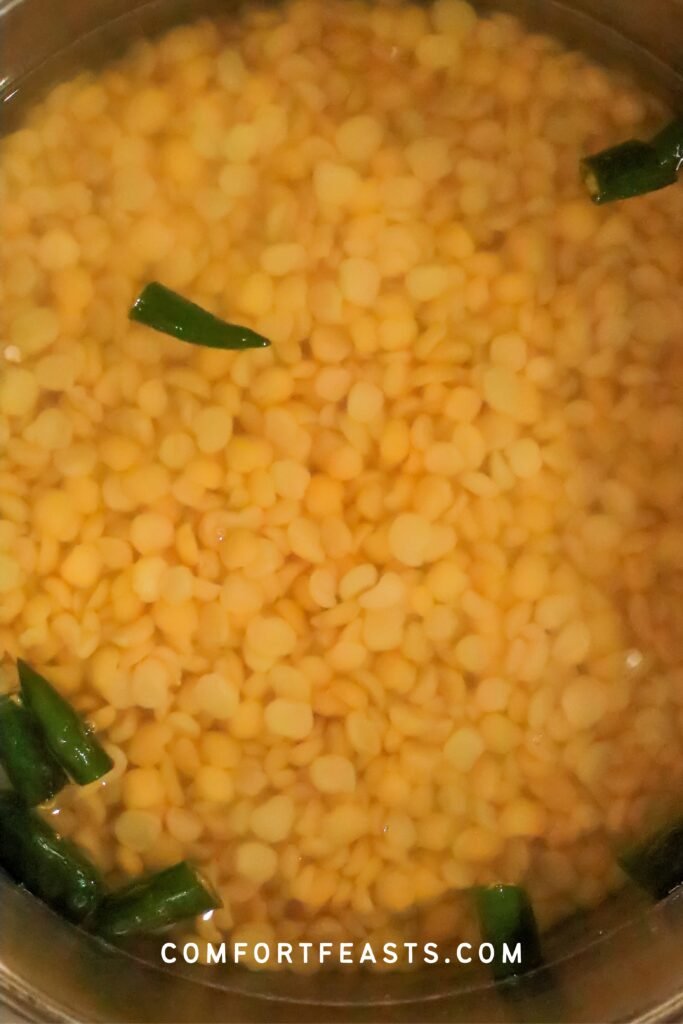
Step 2: Grind to a smooth paste. The next day, drain the dhal completely. Add the dhal and both green and red chilies to a blender or food processor and grind until you have a smooth, thick paste. Don’t add any water while grinding — the dhal should have enough natural moisture on its own.
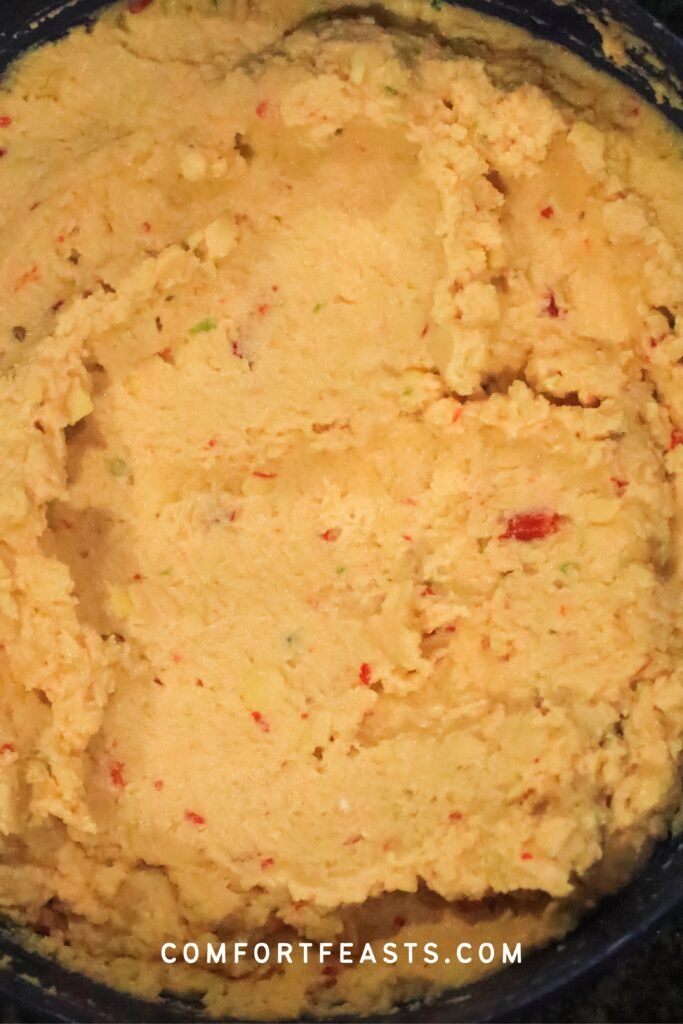
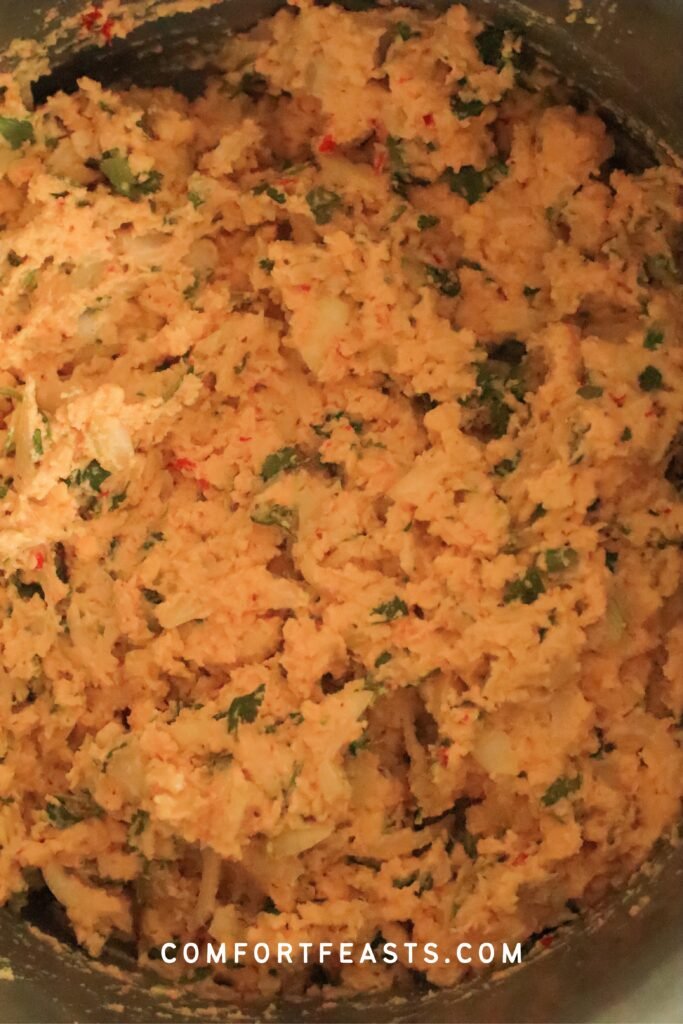
Step 3: Mix in the remaining ingredients. Transfer the paste to a large bowl. Add the salt, sugar, ground jeera powder, chopped onions, and coriander. Mix thoroughly until everything is well combined and evenly distributed through the paste.
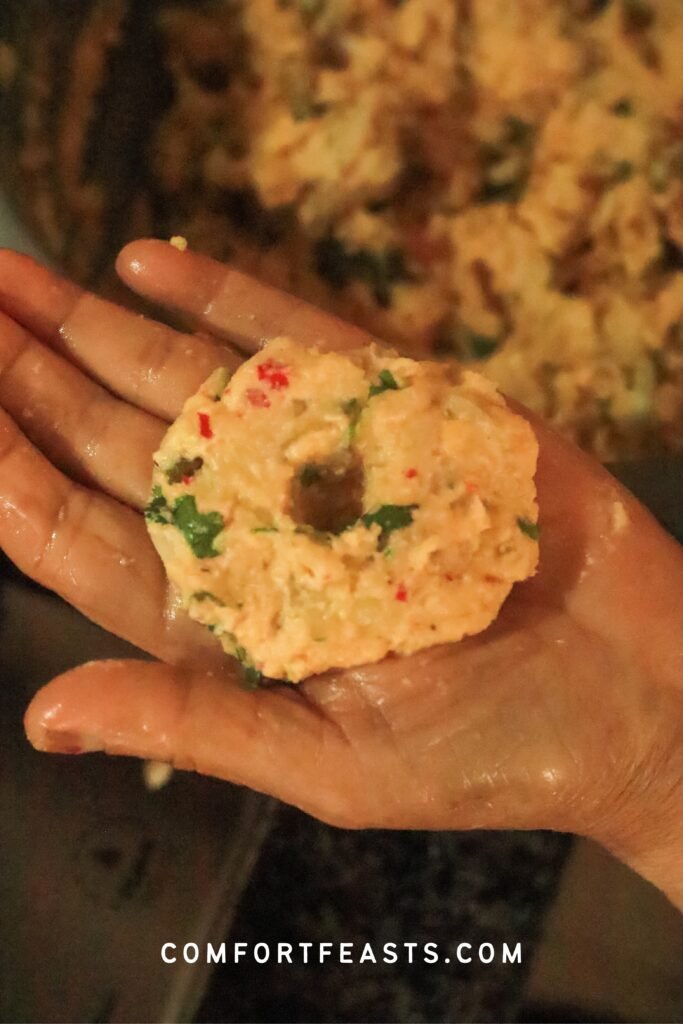
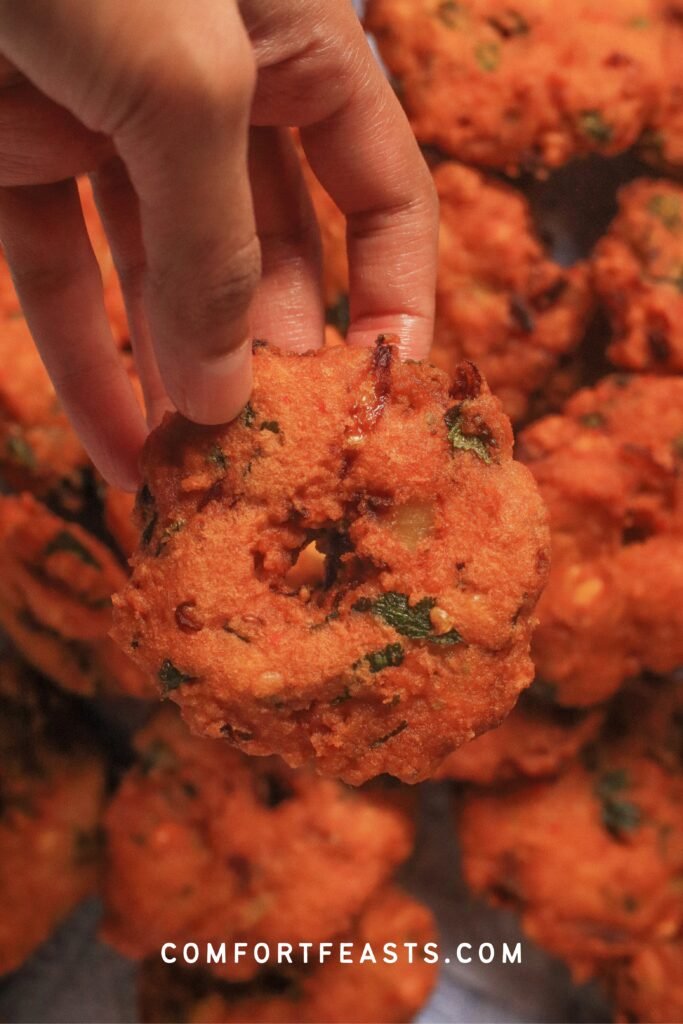
Step 4: Shape the vada. Take a heaped spoonful of the mixture and shape it into a flattened disc in your palm. Use your finger to poke a small hole through the centre — this traditional shape helps the vada cook evenly all the way through.
Step 5: Fry until golden. Heat oil in a deep pot over medium-high heat. Once hot, carefully lower the shaped vada into the oil in batches, without overcrowding the pot. Fry until deep golden brown, flipping halfway through to cook both sides evenly.
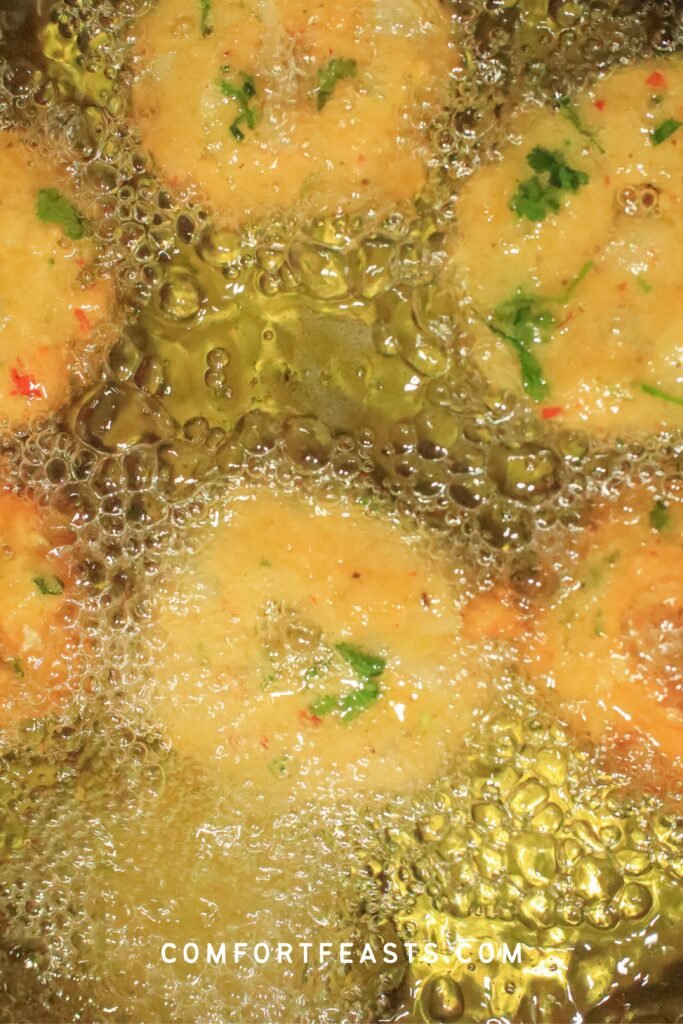
Step 6: Drain and serve. Remove the vada with a slotted spoon and drain on paper towel to remove excess oil. Serve hot, with a cup of tea or coffee.
Can I Make Crispy Vada Ahead of Time?
The dhal can be soaked the night before and ground into paste a few hours ahead of frying. Keep the mixed paste covered in the fridge until you’re ready to shape and fry. For the best texture, vada are at their crispiest fresh out of the oil, so frying just before serving is ideal if you can time it that way.
Serving Suggestions and Variations
Vada is traditionally kept simple, but there’s still room to make it your own:
- Serve it the classic way – hot, straight out of the oil, with a cup of masala chai or coffee alongside. This is how it’s most often eaten in our family, especially around festive occasions.
- Add a dipping element — a fresh tomato chutney or coriander chutney turns vada from a tea-time snack into more of a starter or shared plate.
- Adjust the heat to your crowd — if you’re serving a mixed group, try halving the red chilies for a milder batch, or keep the full quantity for a more traditional, fiery version. Both are equally authentic; it really comes down to family preference.
- Build a prayer-day spread — serve alongside other snacks and sweetmeats for a full table, the way it’s traditionally done for family prayers and functions.
How to Store Crispy Vada
Fridge: Store cooled vada in an airtight container in the fridge for up to 3 days. Reheat in a pan or air fryer to bring back some crispness – microwaving will make them soft.
Freezer: Vada freeze well. Cool completely, then freeze in a single layer before transferring to a freezer bag or container for up to 2 months. Reheat from frozen in an oven or air fryer until hot through and crisp again.
Frequently Asked Questions
Can I make this less spicy? Yes — the chili quantity here is adjustable to taste. Start with fewer red chilies (try 5-6 instead of 10) and adjust up next time if you’d like more heat.
Why is my vada falling apart in the oil? This usually means the dhal wasn’t ground into a smooth enough paste, or water was added while grinding. Make sure the dhal is fully soaked and grind it into a thick, smooth, water-free paste before mixing in the rest of the ingredients.
Can I use a different type of dhal? This recipe relies on yellow pea dhal for its specific texture and flavour. Substituting with a different lentil (like urad dhal, more common in South Indian-style vada) will give a noticeably different result.
Why do I poke a hole in the centre? It’s the traditional shape for vada, and it helps the disc cook through more evenly since the middle has less distance to reach from the surface.
Can I bake these instead of frying? Baking will give a much drier, denser result and won’t replicate the crisp exterior that comes from frying — this recipe is written specifically for the fried method.
⭐ If you try this recipe, please leave a star rating and comment below. I’d love to hear how it turned out!
Equipment
- Blender or food processor
- Large mixing bowl
- Deep pot or kadai (for frying)
- Slotted spoon
- Paper towel-lined plate or tray
Ingredients
- 2½ cup (625ml) yellow pea dhal
- 2½ tsp fine salt
- ½ tsp sugar
- ½ tsp ground jeera powder
- 3 small onions, cut finely
- 4 fresh green chilies
- 10 fresh red chilies
- 200g fresh coriander, roughly chopped
Instructions
- Soak the yellow pea dhal in water overnight, or for at least 6-8 hours, until softened.
- Drain the dhal completely. Add the dhal and both green and red chilies to a blender or food processor and grind into a smooth, thick paste, without adding any water.
- Transfer the paste to a large bowl. Add the salt, sugar, ground jeera powder, chopped onions, and coriander. Mix well until fully combined.
- Take a heaped spoonful of the mixture and shape into a flattened disc. Poke a small hole through the centre with your finger.
- Heat oil in a deep pot over medium-high heat. Fry the vada in batches, without overcrowding the pot, until deep golden brown, flipping halfway to cook both sides evenly.
- Remove with a slotted spoon and drain on paper towel. Serve hot with tea or coffee.
Notes
- Adjust the number of chilies to taste — this recipe makes a fairly spicy vada.
- Do not add water while grinding the dhal; it should release enough moisture on its own to bind the mixture.
- Wetting your hands lightly before shaping helps prevent the mixture sticking to your palms.
- Fry in batches to keep the oil temperature steady — overcrowding leads to greasy, unevenly cooked vada.