No Bake Pineapple Cheesecake with Jelly
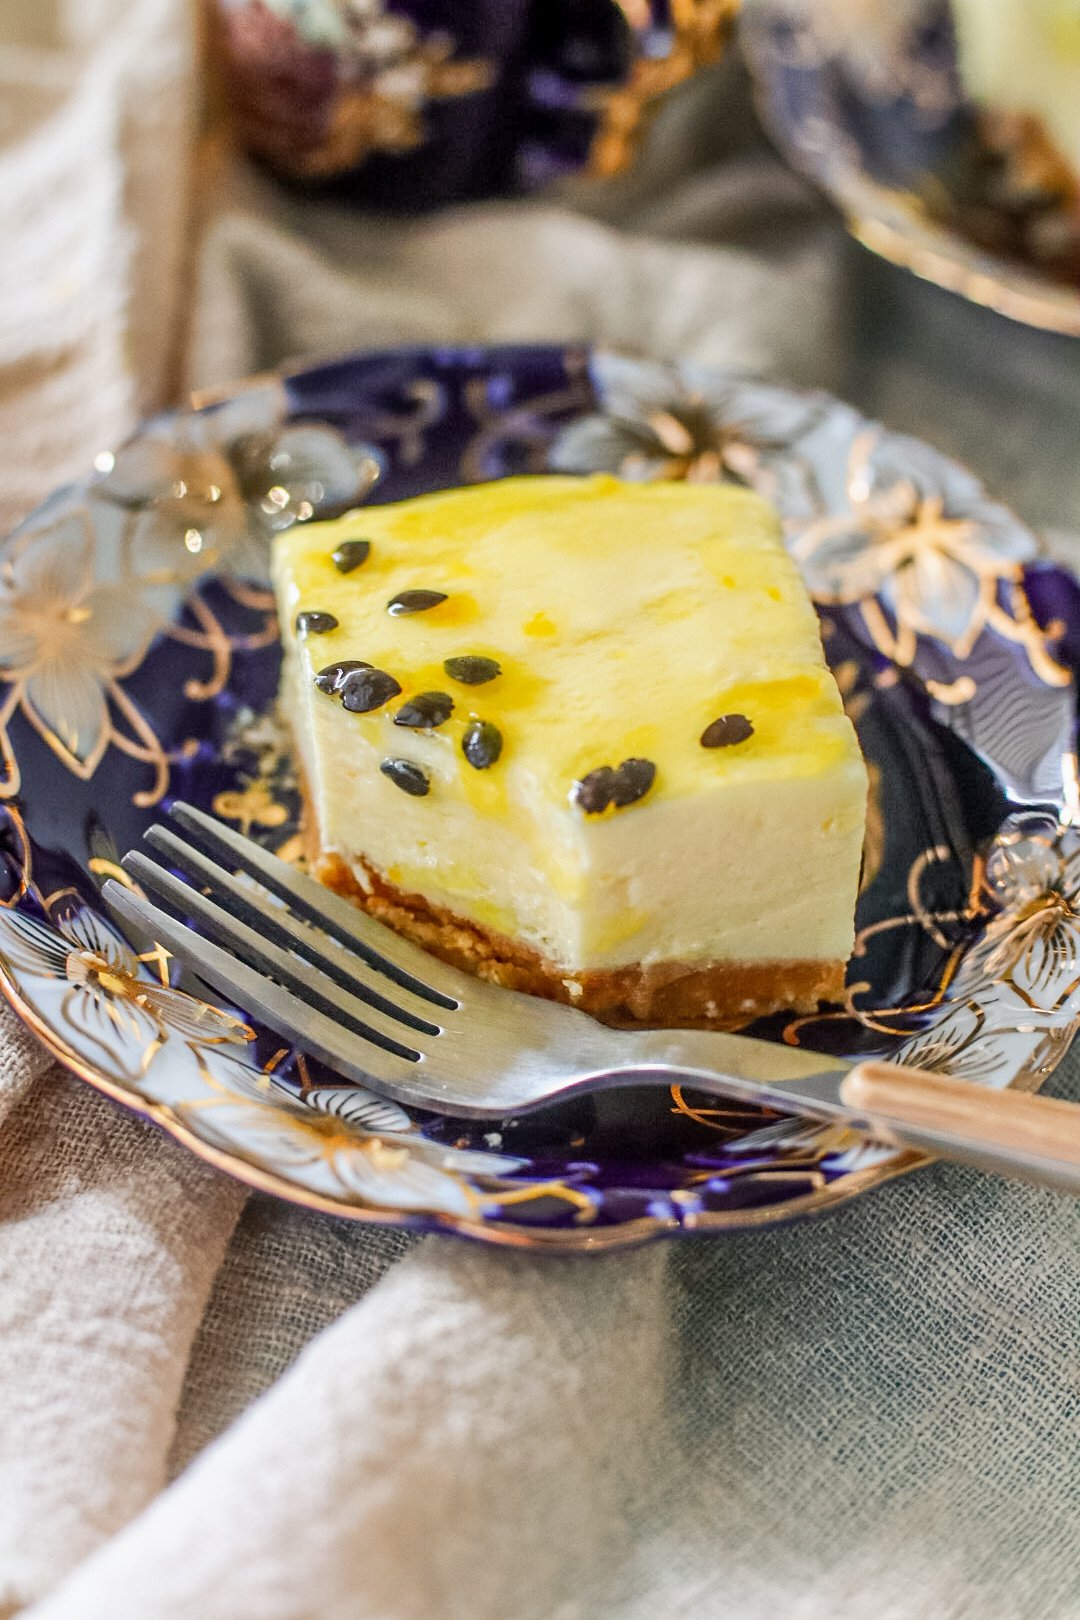
This no bake pineapple cheesecake with jelly is smooth, creamy, and incredibly easy to make. There is no oven required, no complicated techniques, and no stress.
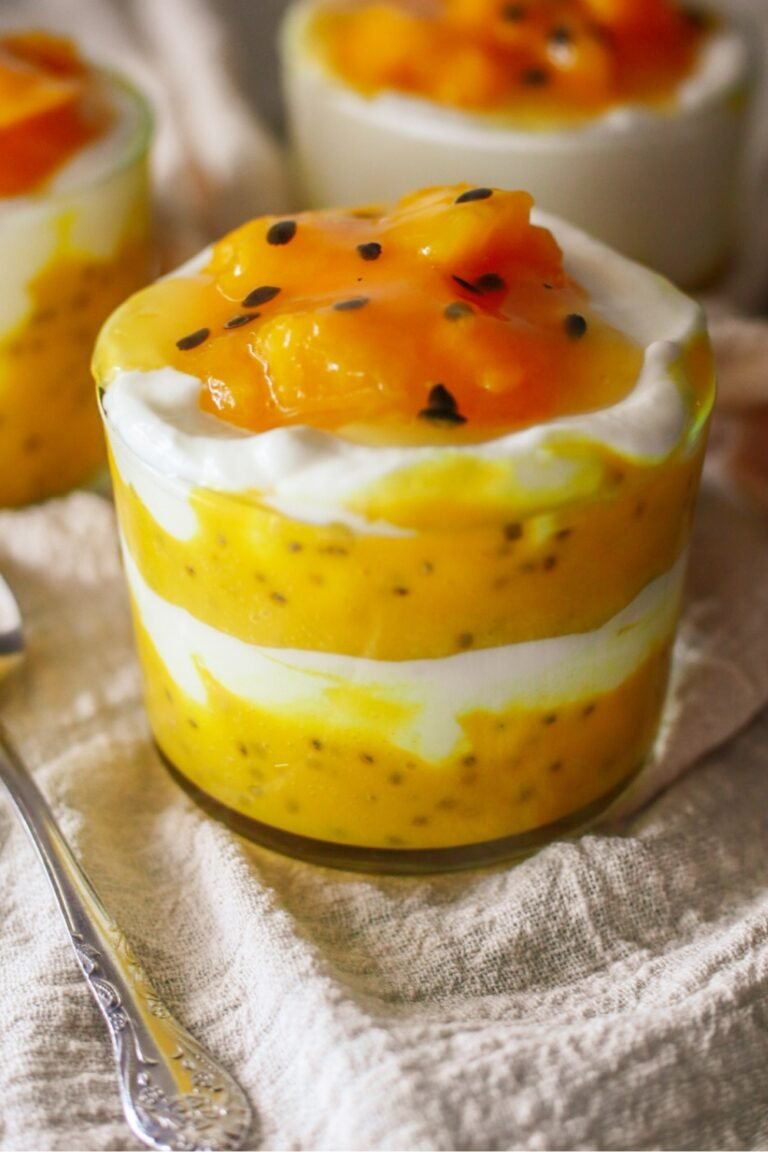
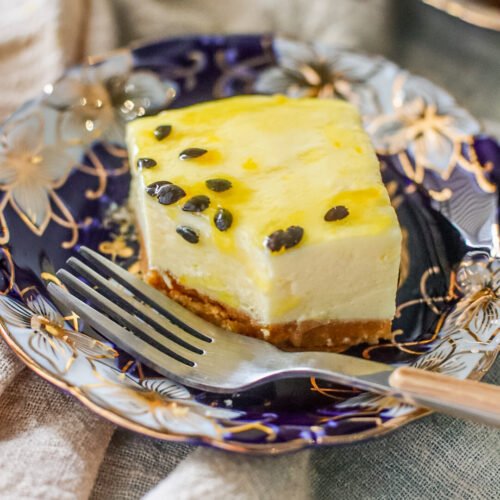
Instead, you get a perfectly set cheesecake made with pineapple jelly, a creamy filling, and a crunchy biscuit base. It’s the perfect dessert for warm weather, special occasions, or when you want something sweet without turning on the oven.
Because this is a no bake pineapple cheesecake with jelly, you can prepare it ahead of time and let it set in the fridge overnight. The result is a light, refreshing dessert with a tropical pineapple flavor that balances sweetness beautifully.

Why This No Bake Pineapple Cheesecake with Jelly Works
This recipe works every time because:
- The pineapple jelly helps the cheesecake set without baking
- The texture is light, creamy, and smooth
- The biscuit base gives a firm, crunchy foundation
- The pineapple flavor adds a refreshing tropical taste
Unlike baked cheesecakes, this version is easier, quicker, and more beginner-friendly.
Ingredients
Coconut Biscuits: Coconut biscuits form the base of the cheesecake. They provide structure and crunch, while their mild coconut flavour pairs well with the creamy filling and tangy topping. You could also use digestive biscuits if preferred.
Unsalted Butter: Unsalted butter binds the crushed biscuits together. Once chilled, it firms up and creates a stable base that holds its shape when sliced.
Jelly Powder: Jelly powder helps the cheesecake set without baking. It gives the filling structure while keeping it smooth and creamy. I used pineapple jelly, but you can experiment with other fruit flavours that complement the topping.
Boiling Water: It is very important to use boiling water to dissolve the jelly powder completely. This prevents graininess and ensures an even texture throughout the cheesecake.
Cottage Cheese: I used plain smooth cottage cheese which forms the body of the cheesecake filling. When mixed well, it becomes smooth and creamy without making the dessert overly rich.
Condensed Milk: Condensed milk adds sweetness and creaminess to the filling. It also helps all the ingredients combine smoothly.
Fresh Cream: Fresh cream is whipped and folded into the filling. This adds air and creates a light, fluffy texture.
Granadilla (Passion Fruit) Pulp: Granadilla pulp adds freshness and contrast. Its natural tang balances the sweetness of the cheesecake and provides a bright, glossy finish on top.
Instructions
Step 1: Prepare the Biscuit Base
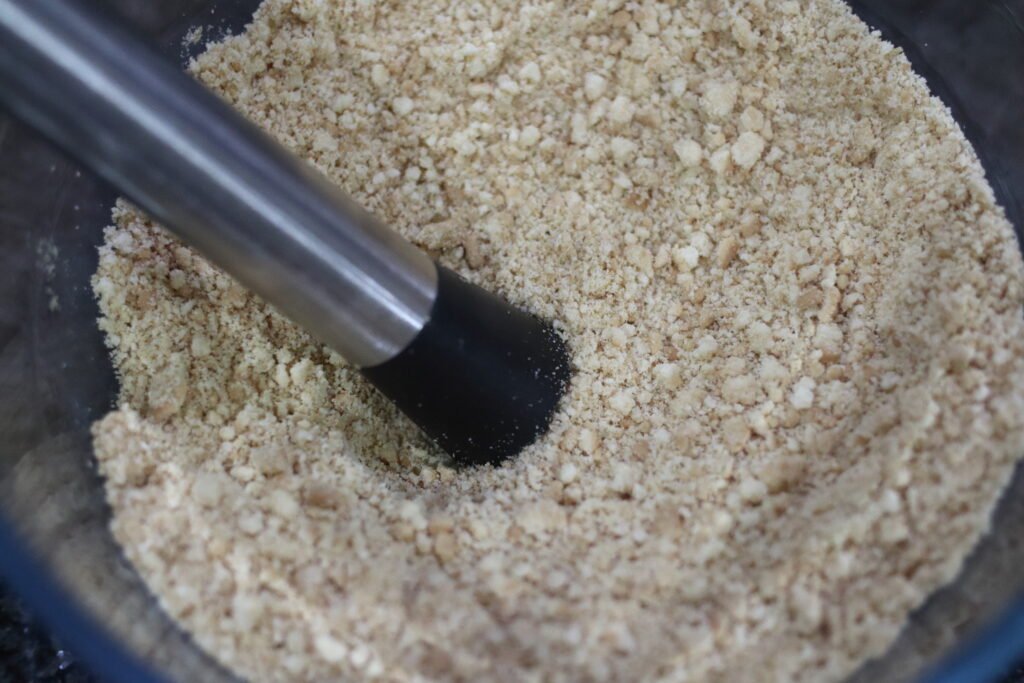
Crush the biscuits into fine crumbs using a rolling pin, muddler or food processor.
Step 2: Add the Butter
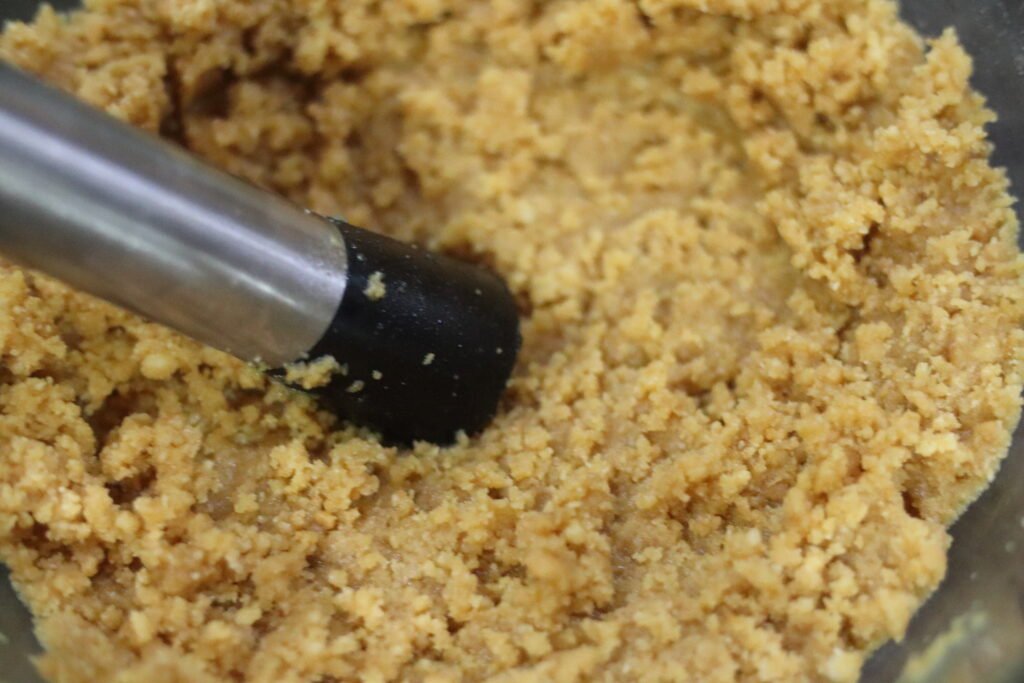
Melt the unsalted butter and add it to the crushed biscuits. Mix well until the texture resembles wet sand.

Step 3: Form the Base
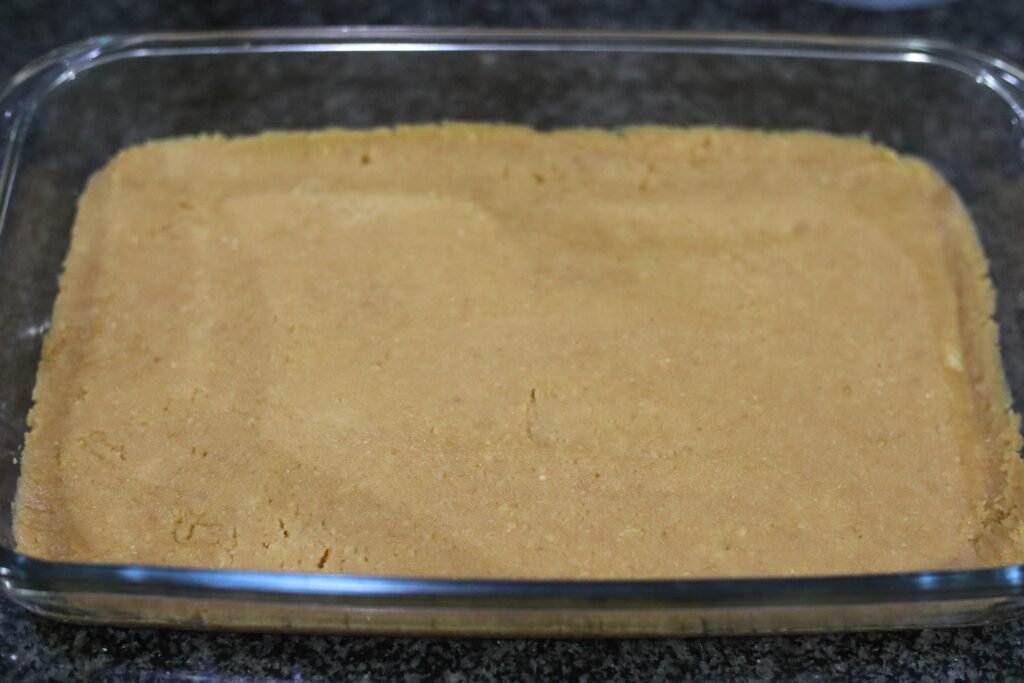
Spoon the biscuit mixture into your baking dish. Use a spatula or the back of a spoon to press it down firmly into an even layer. Set the biscuit base aside while you prepare the cheesecake filling.
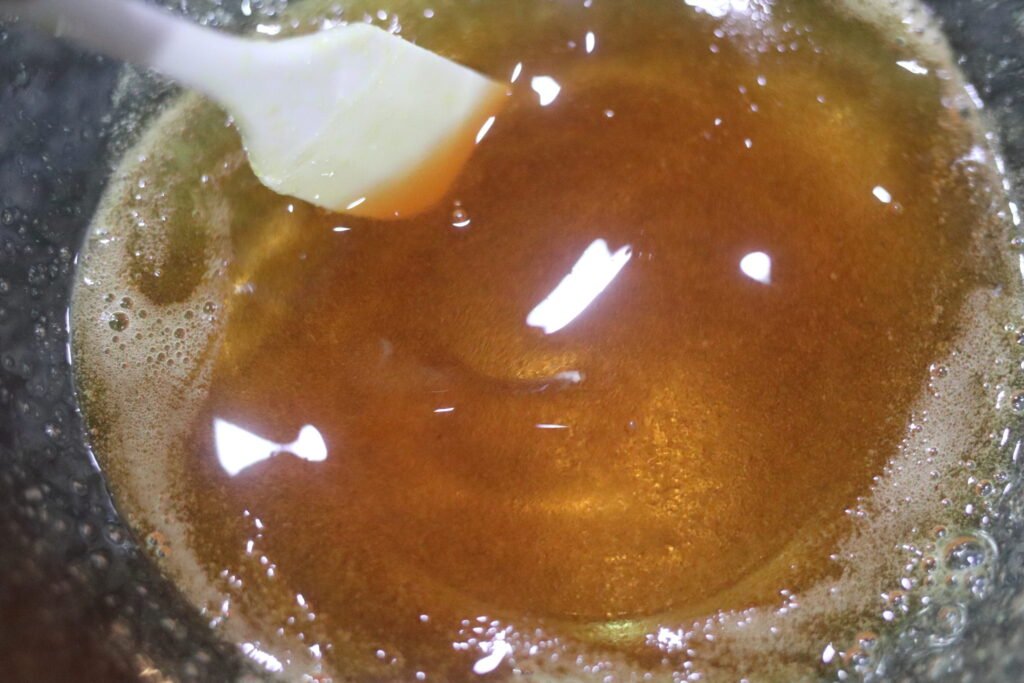
Step 4: Dissolve the Jelly
Add the jelly powder to a bowl and pour over ¾ cup of boiling water. Stir until completely dissolved and smooth, with no granules remaining.
Note: If the jelly feels grainy, place the bowl over a double boiler and gently heat while stirring until smooth.
Step 5: Cool the Jelly
Keep the dissolved jelly aside to cool to room temperature. Do not let it set or harden. Cooling is important because adding hot jelly to the cottage cheese can cause the proteins to clump and the jelly to form granules.
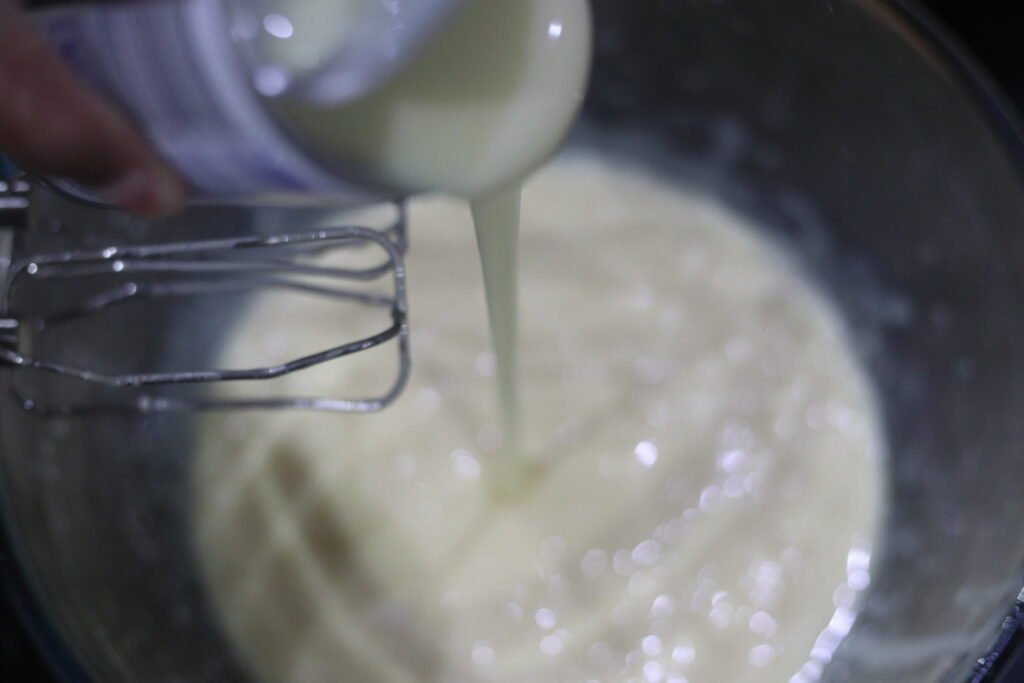
Step 6: Mix the Cheesecake Base
In a separate bowl, mix the cottage cheese and condensed milk until smooth and well combined.
Step 7: Add the Jelly
Once the jelly liquid has cooled, add it to the cottage cheese and condensed milk mixture. Stir gently until combined.
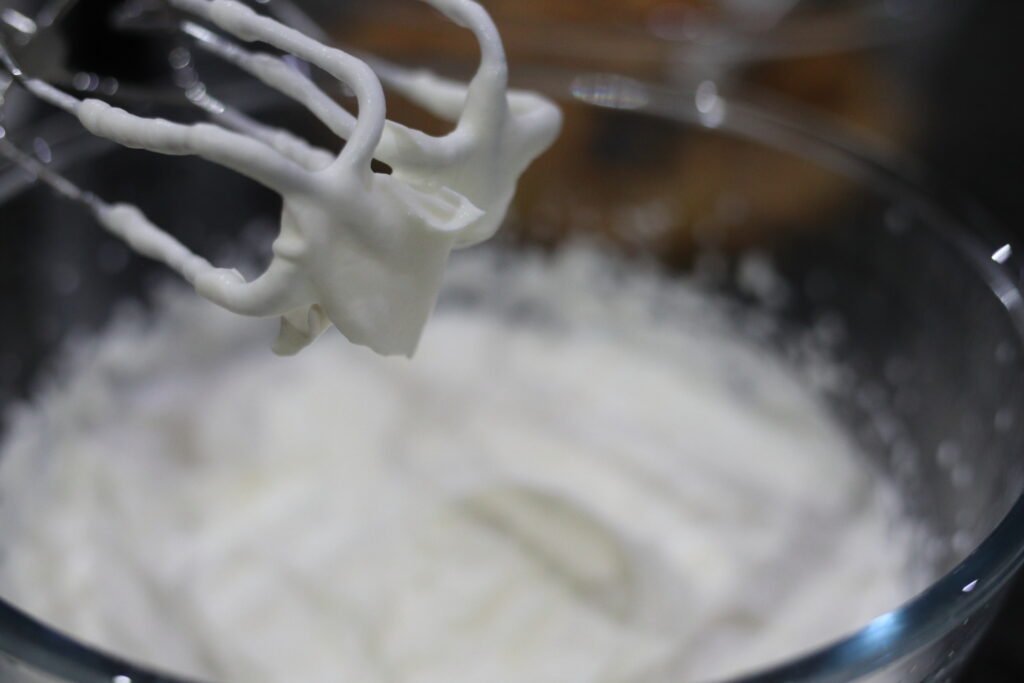
Step 8: Whip the Cream
In another bowl, whip the fresh cream until soft peaks form. Do not overwhip, as this can cause the cream to split.
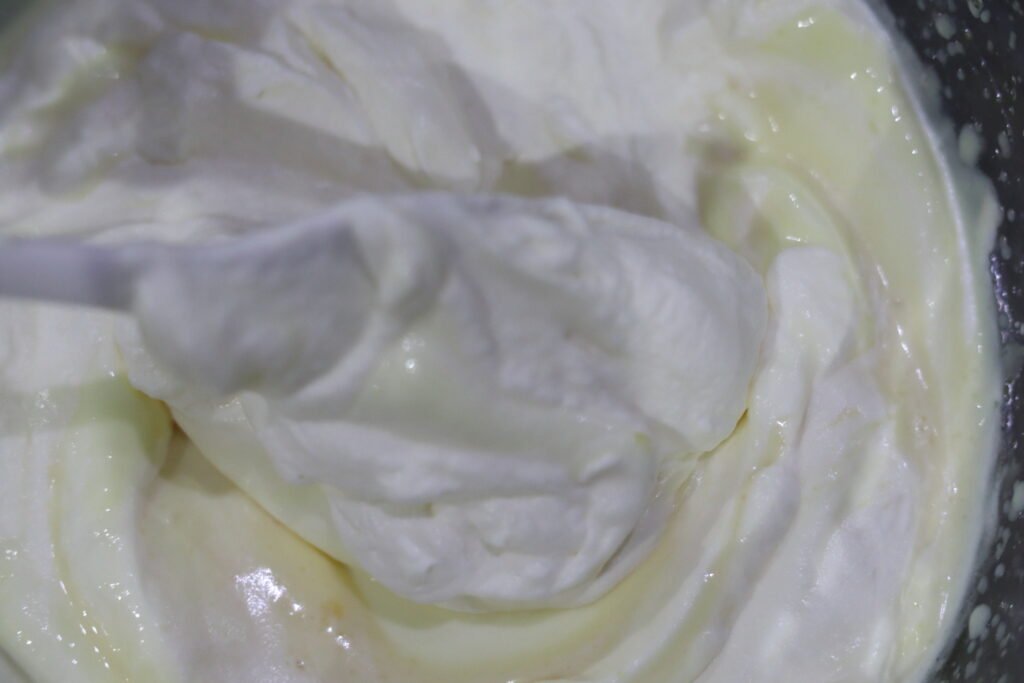
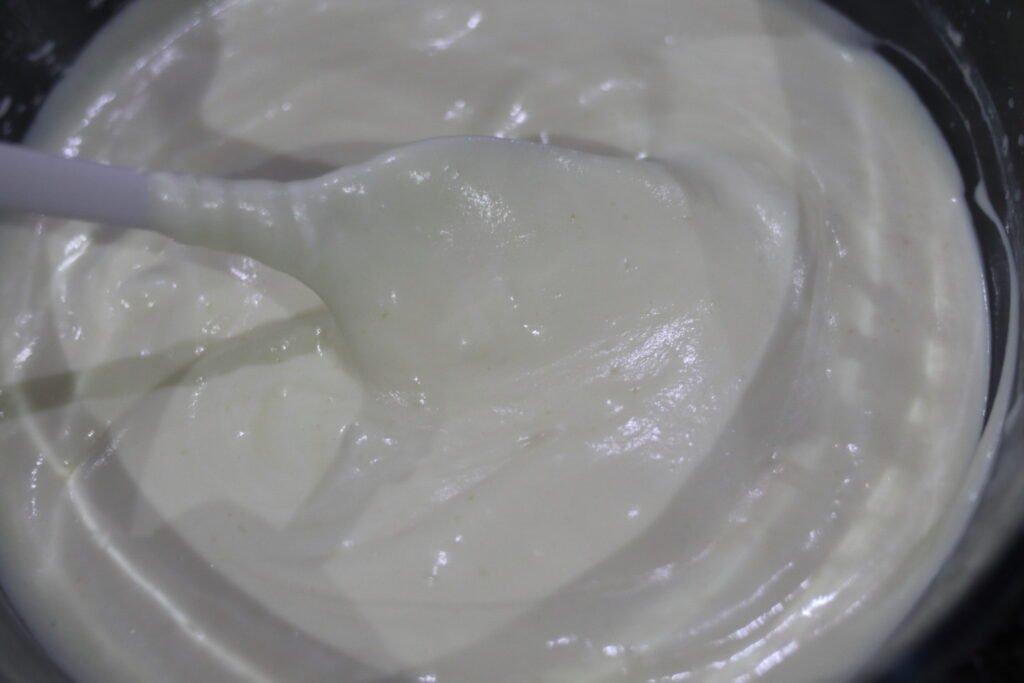
Step 9: Fold the Cream In
Gently fold the whipped cream into the cheesecake mixture, being careful not to overmix. This keeps the filling light and airy.
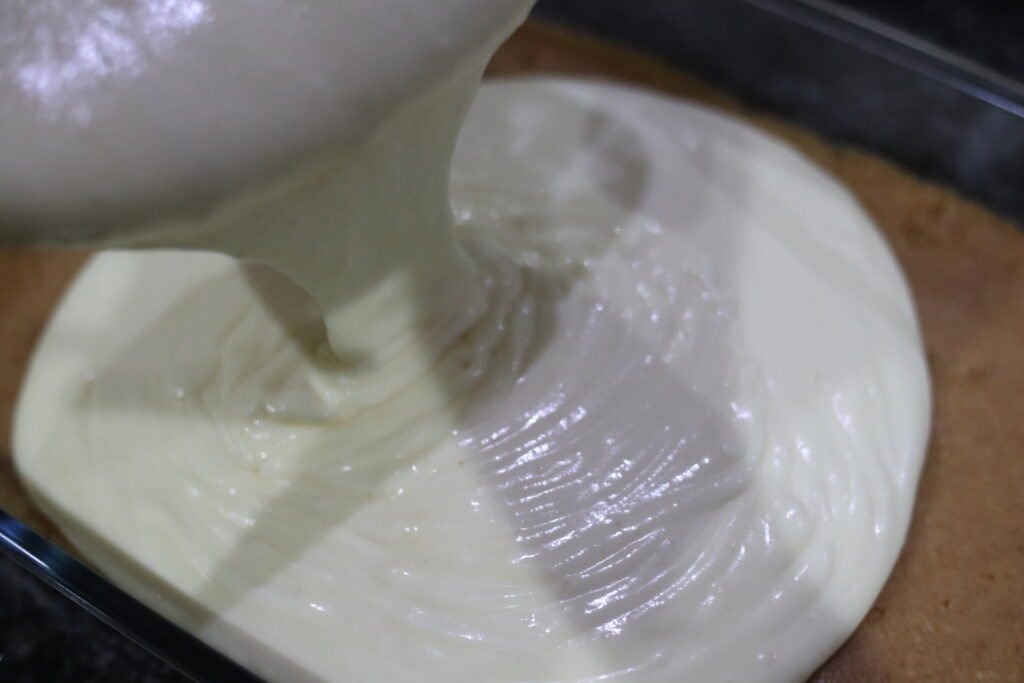
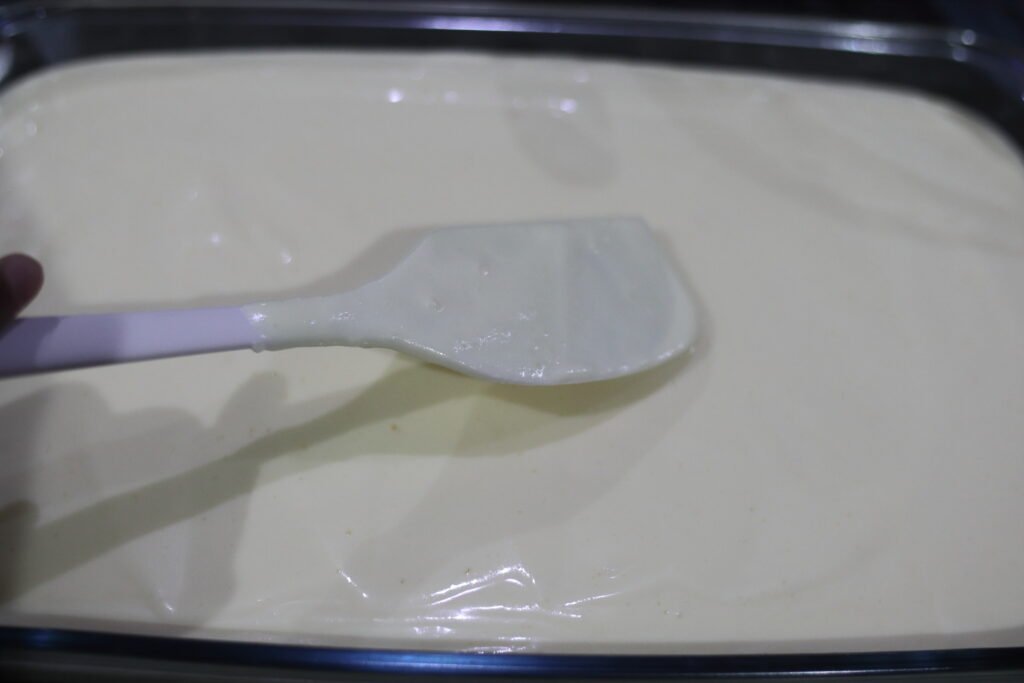
Step 10: Assemble the Cheesecake
Pour the cheesecake mixture over the prepared biscuit base. Smooth the top with a spatula.
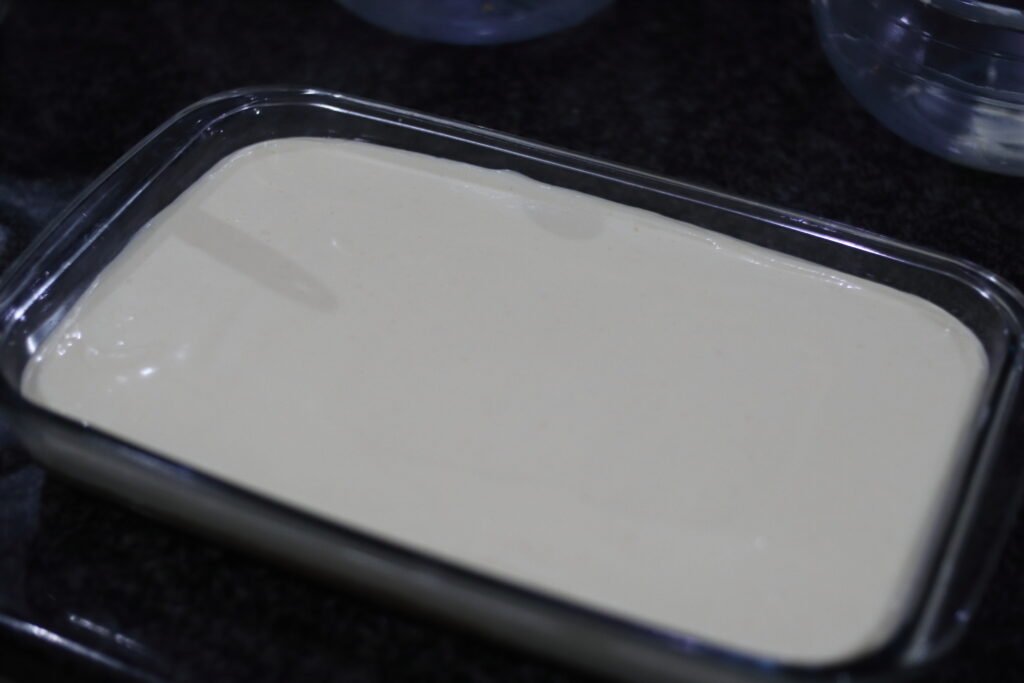
Step 11: Chill Until Set
Refrigerate overnight, or until fully set (about 6–8 hours).
Step 12: Add the Topping
After the cheesecake has set or before serving, spoon the granadilla (passion fruit) pulp over the top to decorate.

Storage Instructions
Keep the no-bake cheesecake covered and refrigerated. It will stay fresh for up to 3 days. For best results, add the granadilla topping just before serving. This helps maintain a glossy finish and prevents excess moisture on the surface. Freezing is not recommended, as it can affect the creamy texture once thawed.
FAQ
Can I use a different biscuit base?
Yes. Digestive biscuits or tennis biscuits work well.
Can I replace cottage cheese with cream cheese?
Yes, but the cheesecake will be richer and denser.
Can I use margarine instead of unsalted butter?
Yes, you can, but unsalted butter is recommended. Margarine is usually saltier and contains more water, which can affect both the flavour and firmness of the biscuit base.
Can I use any flavour of jelly?
Yes. You can use any jelly flavour you prefer. Fruit flavours like strawberry, lemon, or passion fruit work best, as they complement the creamy cheesecake filling. My personal preference is pineapple which I used in this current recipe.
Did You Make This Recipe?
If you tried this No Bake Pineapple Cheesecake with Jelly, I’d love to hear how it turned out! Leave a comment and rating below and share your experience. Your feedback helps other readers make the recipe with confidence and inspires me to keep sharing more comforting recipes.
More desserts you’ll love:
Ingredients
- 250g coconut biscuits
- 150g unsalted butter (melted)
- 160g pineapple jelly (or any other flavor of choice)
- 250g plain creamed smooth cottage cheese
- 385g sweetened condensed milk
- 250g fresh cream (whipped)
- 115g granadilla/passion fruit pulp
- 3/4 cup (187.5 ml) boiling water
Instructions
Biscuit base
- Place the coconut biscuits in a bowl and crush them until fine. I used a 25 cm stainless steel muddler, but you can also use a rolling pin, a food processor, or the bottom of a heavy glass.
- Melt the unsalted butter and add it to the crushed biscuits. Mix well until the texture resembles wet sand.
- Spoon the biscuit mixture into your baking dish. Use a spatula or the back of a spoon to press it down firmly into an even layer.
- Set the biscuit base aside while you prepare the cheesecake filling.
Cheesecake mixture
- Add the jelly powder to a bowl and pour over ¾ cup of boiling water. Stir until completely dissolved and smooth, with no granules remaining.Note: If the jelly feels grainy, place the bowl over a double boiler and gently heat while stirring until smooth.
- Set the dissolved jelly aside and allow it to cool to room temperature.Note: Adding hot jelly to the cottage cheese can cause the proteins to clump and the jelly to form granules.
- In a separate bowl, mix the cottage cheese and condensed milk until smooth and well combined.
- Once the jelly has cooled, add it to the cottage cheese and condensed milk mixture. Stir gently until combined.
- In another bowl, whip the fresh cream until soft peaks form. Do not overwhip, as this can cause the cream to split.
- Gently fold the whipped cream into the cheesecake mixture, being careful not to overmix. This helps keep the filling light and airy.
- Pour the cheesecake mixture over the prepared biscuit base. Smooth the top with a spatula.
- Refrigerate overnight, or until fully set (6 – 8 hours).
- Before serving, spoon the granadilla (passion fruit) pulp over the top to decorate.